![]()
|
2013-3-29 final report |
クランクシャフトも完成し、最終組み込みです。
I completed the crankshaft and started final assembly.
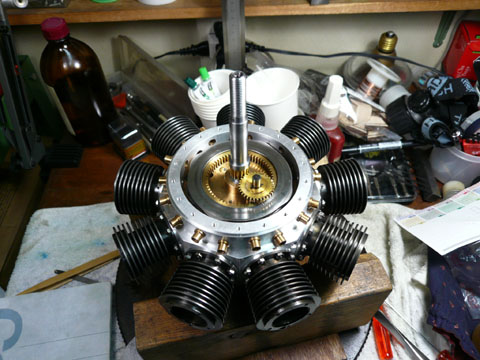 ここまで組み込み、カムギアーのタイミングを見る段階に来ました。ここまで来るとクランクシャフトを回すのは結構重くなります。ドライブシャフトをはめ込んで回すと楽に回せます。 ここまで組み込み、カムギアーのタイミングを見る段階に来ました。ここまで来るとクランクシャフトを回すのは結構重くなります。ドライブシャフトをはめ込んで回すと楽に回せます。そこでドライブシャフトを持ってきて初めて気がつきました。なんとシャフトにテーパーをつけるのを忘れていました。 At this stage, I found that I forgot to turn the taper portion on the crankshaft. I had to disassemble again. |
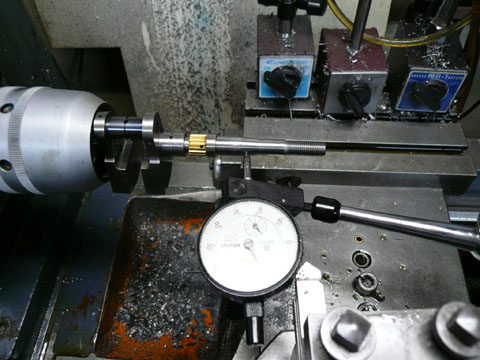 古いシャフトを使って複式刃物台の角度調整をしています。この後新しいクランクシャフトのテーパー削りをしました。 古いシャフトを使って複式刃物台の角度調整をしています。この後新しいクランクシャフトのテーパー削りをしました。To turn the taper I adjusted the complex tool post using old crankshaft. |
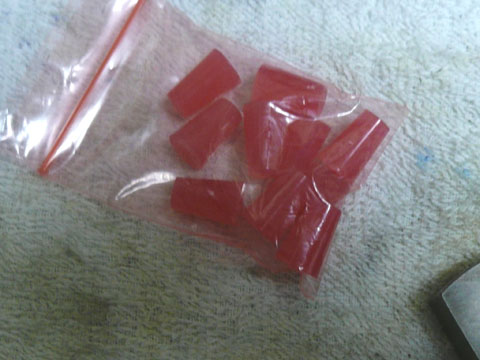 吸気洩れチェックをするためのゴム栓です。 吸気洩れチェックをするためのゴム栓です。今回ばらすときにキャブ取り付け部から息を吹き込んでみました。結構洩れていることが分かりました。これではキャブの開度と回転が同調しません。しっかりチェックするために買いました。 These are silicone rubber plug for checking air leakage. When I disassembled the engine, I brew breath from the carburetor hole on the rear cover and found that there were some air leakage between the intake and exhaust flange and cylinder head. To eliminate this leakage, I bought them |
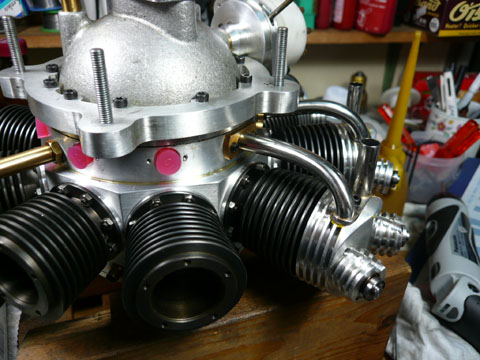 こんな風にクランクケースの吸気部にはめ込み、ここからエアーが洩れないようにします。 こんな風にクランクケースの吸気部にはめ込み、ここからエアーが洩れないようにします。I used them like this picture. |
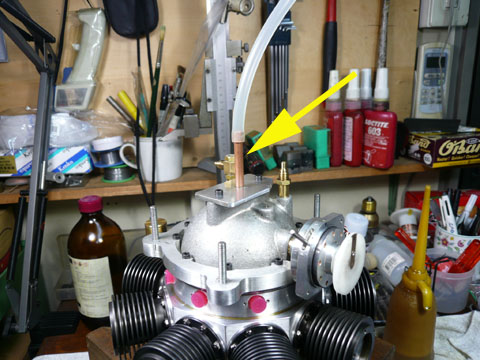 次いでキャブ取り付け部につけたアダプターから息を吹き込みます。 次いでキャブ取り付け部につけたアダプターから息を吹き込みます。これで給排気管フランジとシリンダーヘッドの間からのエアー漏れを完全になくせます。 一つずつ液体ガスケットも併用して漏れをなくしました。 To check the leakage, I blow from this tube. |
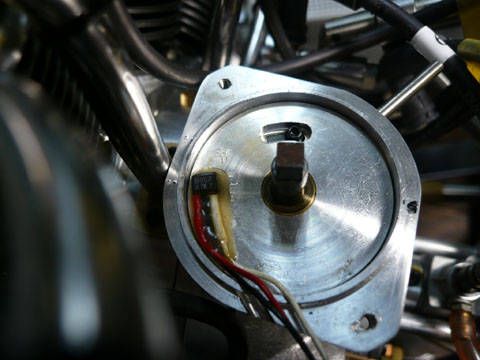 組上がって30分ほど回ったところでまた突然止まりました。 組上がって30分ほど回ったところでまた突然止まりました。点火を示すLEDが全く光りません。 スペアーのイグニションモジュールを使って調べましたらどうもホールICが壊れてしまったようです。 多分ディストリビューター内で高圧がホールICに飛んで破壊してしまったのでしょう。 付け替えに2時間くらいでしょうか。 After 30minutes running, the engine suddenly stopped. The indicator LED for ignition did not flash. I checked the ignition circuit and found the hall IC was broken. High voltage might damage the hall IC in distributor. I changed it. |
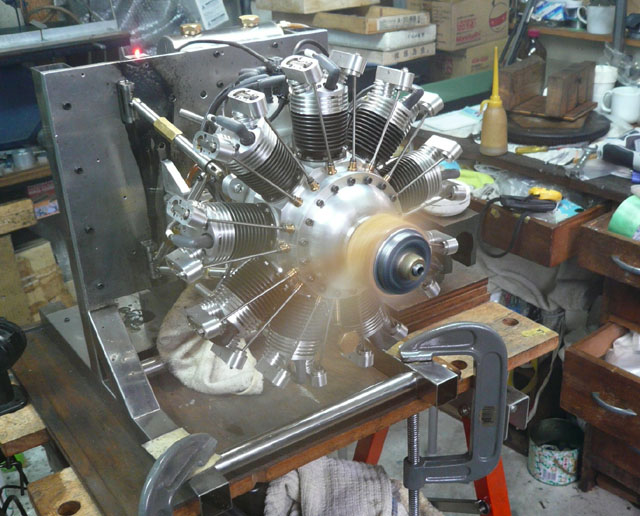 吸気洩れもなくなり非常に調子よくなりました。 吸気洩れもなくなり非常に調子よくなりました。手でクランクして簡単に始動できるようになりました。 一応完成でしょう。 Without air leakage, this engine could easily started by hand crank. I think this engine is completed. |