![]()
| 2009-5-1 crankcase |
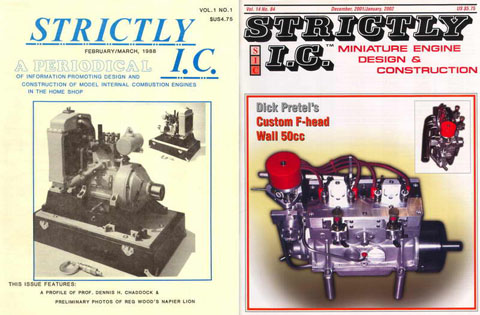 4月14日 SIC誌編集者のロバートウォッシュボーンが亡くなられたそうです。 4月14日 SIC誌編集者のロバートウォッシュボーンが亡くなられたそうです。最近私が作ったエンジンはSICに載っていたものです。今後この雑誌のコピーもだんだん手に入りにくくなるのでしょうね。 |
クランクケースを作り始めました。5気筒と比べると単純に考えても作業量は約2倍、このエンジンのクランクケースの方が構造が複雑なので思いっきり時間がかかりました。
I started to make a crankcase. The working process is about two times of
five cylinder radial and the crankcase is more complex than 5 radial.
I took far more time than I expected.
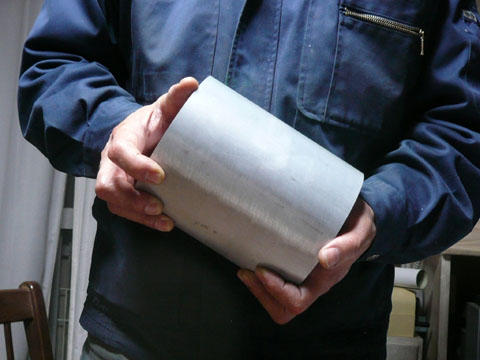 クランクケース用部材です。失敗を考慮して2個分になっています。 クランクケース用部材です。失敗を考慮して2個分になっています。Material for crankcase. Considering the failure it was for two crank case. |
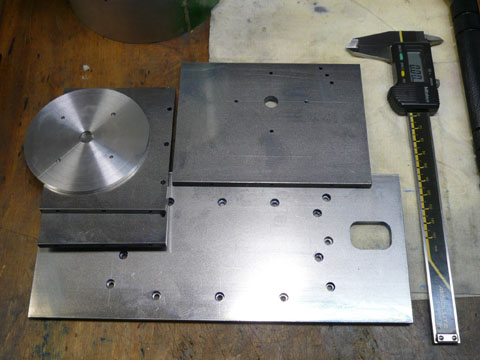 クランクケース切削用固定具です。底板はKinnerのものを流用しています。 クランクケース切削用固定具です。底板はKinnerのものを流用しています。The fixture for crankcase. |
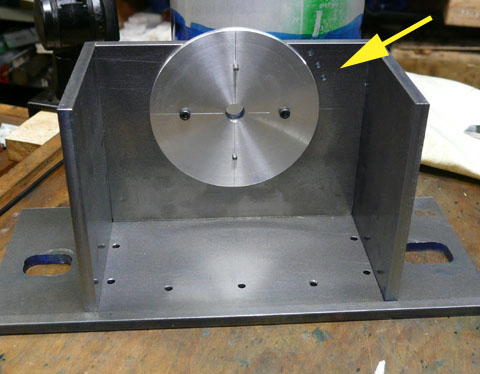 組上がった固定具。 組上がった固定具。黄色矢印は位置決めピンを入れるところです。 Assembled. Yellow arrow shows the holes for positioning pin |
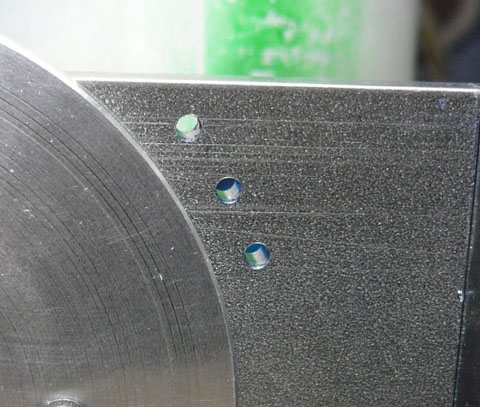 黄色矢印部の拡大写真です。 黄色矢印部の拡大写真です。左右に9°傾いたプッシュロッドのタペットガイド穴をあけるためクランクケースを9°傾けて固定できるよう位置決めピンは中心を含め3ヶ所あります。 Close up view of the holes for positioning pin. |
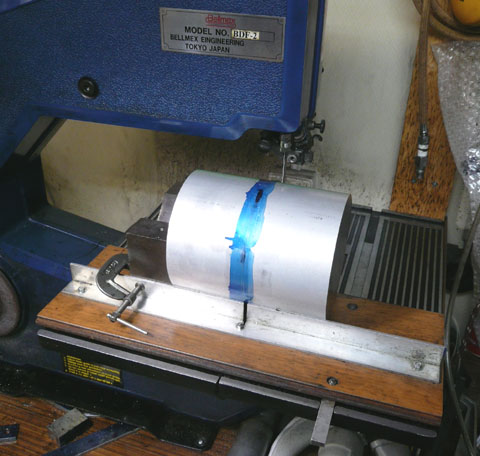 材料の切り出しです。これ以上太いとこのバンドソーでは切れません。切断だけで1時間近くかかりました。 材料の切り出しです。これ以上太いとこのバンドソーでは切れません。切断だけで1時間近くかかりました。Cutting the material. This size is maximum for this band saw. It took about one hour for cutting. |
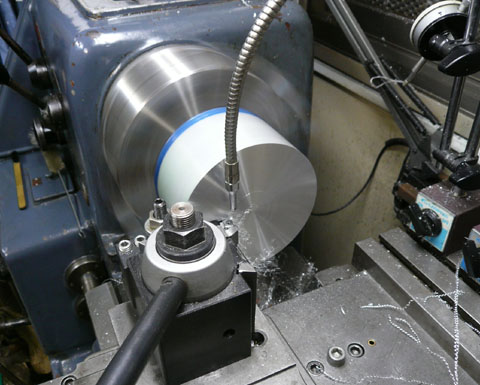 切り出した材料の端面削り。 切り出した材料の端面削り。外爪作業です。 Facing. I did it by reversed jaw. |
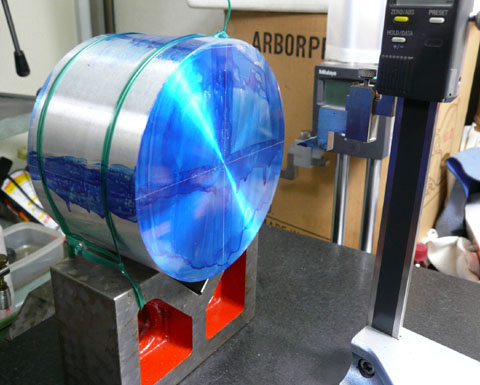 罫書き作業です。 罫書き作業です。はじめにフロント&リアーカバーなどを固定する穴をあけてしまうため中心を求めています。もう少し大きなVブロックがあると良いのですが・・・・ ちなみに重量は2.5kgでした。 Scribing. I want bigger V block. This block weigh 2.5Kg. |
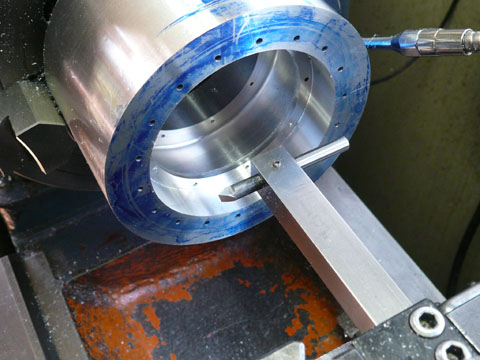 隔壁の向こう側の中繰りをしています。 隔壁の向こう側の中繰りをしています。3rのバイトではじめたのですが突き出しが大きくビビリを生じるので、剣バイトを作り作業しました。 フロントカバー固定用の穴など全て先にあけてありますので先ほどの罫書きを頼りに4爪でセンター出しをしてあります。 Boring the crankcase. I first used round tip bite but it caused chattering. So I made V shape bite. I did it by 4 jaws chuck |
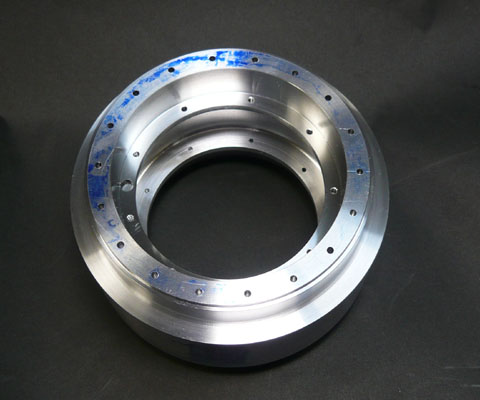 中繰り作業が全て終了しました。 中繰り作業が全て終了しました。Boring operation was completed. |
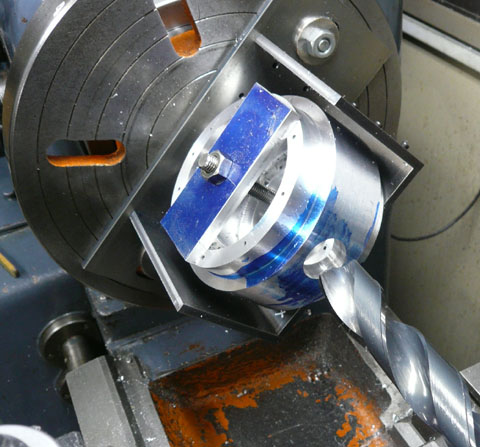 クランクケース固定具を面板にセットしてシリンダー取り付け面の穴あけをしています。ドリルは26φです。 クランクケース固定具を面板にセットしてシリンダー取り付け面の穴あけをしています。ドリルは26φです。Drilling the hole for cylinder using 26mm diameter drill. |
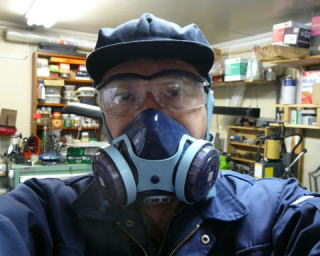 切削はミストでやっているのですが作業時間が長くなったら額に湿疹が出来てしまいました。髪の毛にかかったミスト(オイル)が悪さをするようです。シャンプーがほとんど泡立たないくらいペットリになります。 切削はミストでやっているのですが作業時間が長くなったら額に湿疹が出来てしまいました。髪の毛にかかったミスト(オイル)が悪さをするようです。シャンプーがほとんど泡立たないくらいペットリになります。額に湿疹が出来るくらいですから吸入して体によいわけがありません。 というわけでこんな格好で作業しています。 自分でカメラをもってとった写真でちょっと不気味なので少し小さめにしました。 I used spray mist coolant system on my lathe and milling machine. After long work (over 6 hours ), my hair became sticky and I had dermatits on my forehead. Oil mist may influence on respiratory system too. So I used cap, glass and air filter. It is very hot but for my health there is no other way. In near future I will try an usual oil coolant system. |
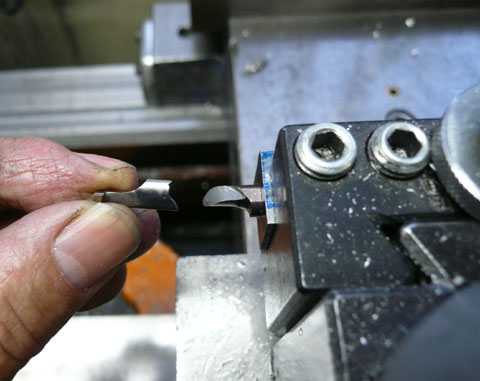 吸気管取り付け部のOリング溝切削作業をしようとしてバイトをぶつけてしまいました。超鋼のバイトが一瞬で・・・・ 吸気管取り付け部のOリング溝切削作業をしようとしてバイトをぶつけてしまいました。超鋼のバイトが一瞬で・・・・When I try to cutting the O ring groove, I hit the carbide bite on the crankcase. It was broken in an instance. |
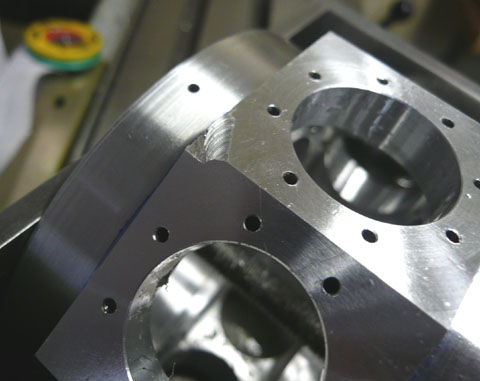 クランクケースにも大きな傷が・・・。 クランクケースにも大きな傷が・・・。位置決めピン2.5φも曲がっていました。 全体がゆがんでしまったかと思いましたが定盤上で見る限り問題はないようです。ここまで約一ヶ月の作業。やり直しはきついので修正することにしました。 I made a big damage. Positioning pin was also bend. I first thought to remake it but on the surface plate, there was no distortion on the body, so I decided to repair it. It took about one month to reach this point, remaking it is too hard. |
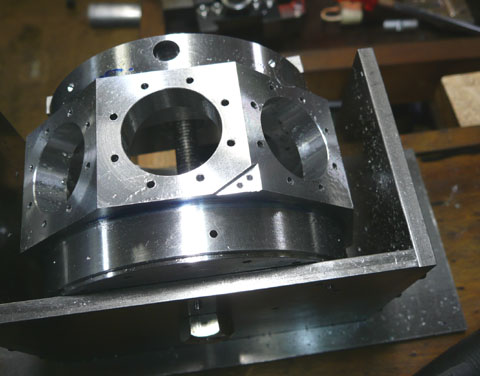 まず傷の部分を削り取ってしまいました。ついで補修材を固定するためのタップを立ててあります。 まず傷の部分を削り取ってしまいました。ついで補修材を固定するためのタップを立ててあります。First I milling off the damaged portion and tapped to fix the repair fragment. |
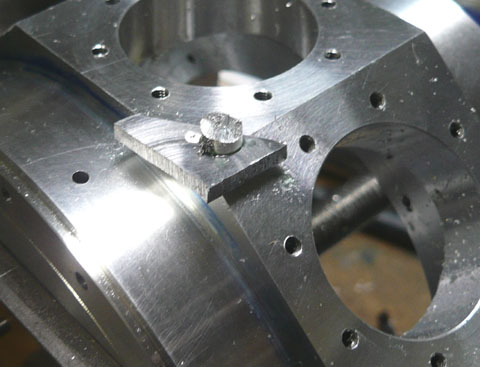 補修材はクランクケースと同じ2024。 補修材はクランクケースと同じ2024。ロックタイトと5000系アルミで作ったネジで補修材を固定しました。 Repair flagment was fixed by LOCTITE and aluminum screws. |
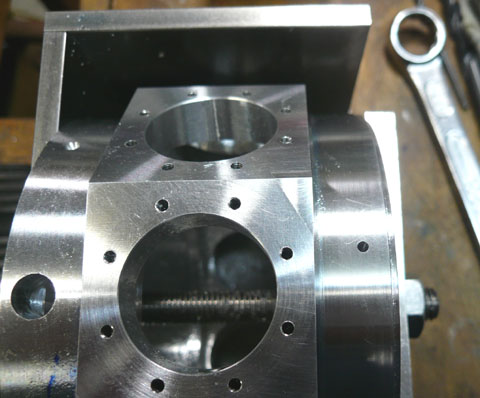 その後余分な部分をエンドミルで切削しました。切削目の方向が違うのと分かるように光を当てましたので補修部分が良く分かります。この後最終段階で研磨してしまえば分からなくなりそうです。 その後余分な部分をエンドミルで切削しました。切削目の方向が違うのと分かるように光を当てましたので補修部分が良く分かります。この後最終段階で研磨してしまえば分からなくなりそうです。Milling the fragment. It will be invisible after polishing. |
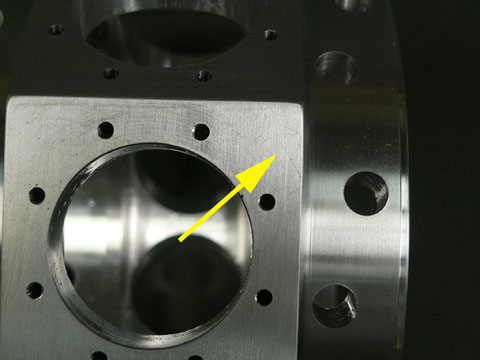 磨きました。ほとんど分からなくなりました。 磨きました。ほとんど分からなくなりました。After polishing. |
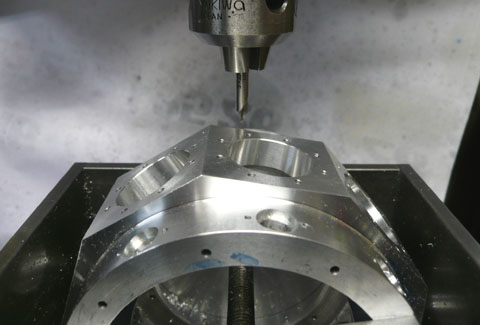 最終段階のタペットガイド穴をあけます。 最終段階のタペットガイド穴をあけます。位置決めピンを使って9°傾けてあります。 To drill holes for tapett guide. The crankcase was fixed 9 degree from the center line. |
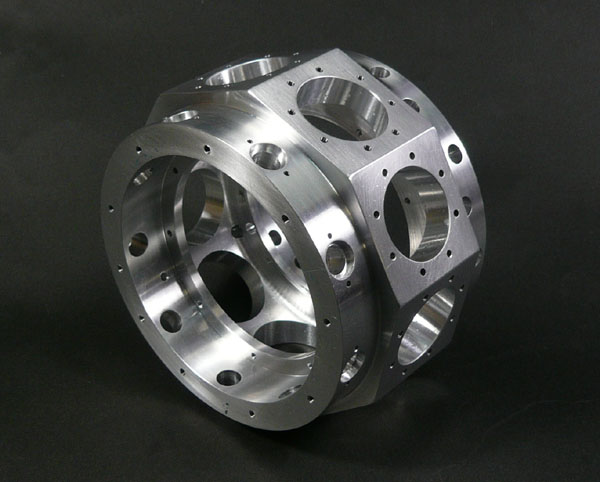 完成しました。タップだけで138ヶ所。(穴あけは約200ヶ所)結構大変でした。 完成しました。タップだけで138ヶ所。(穴あけは約200ヶ所)結構大変でした。重量は570g 初めの23%になりました。 Completed. I had to tap 138 places. It was somewhat awful It weigh 570g 23% of first weight. |