![]()
|
2010-6-25 master rod and slave rod |
今回はマスターロッドとスレーブロッドです。
各シリンダーの上死点が等間隔(クランクシャフト80度毎)に来るよう、スレーブロッドの配置は不等間隔になっています。
作り方はKinnerのものとおおよそ同じ感じです。
This time, I made master and slave rod.
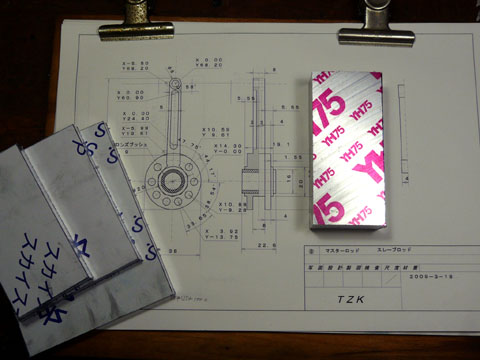 製作用図面、ジグ用アルミ板、そして本体材料です。 製作用図面、ジグ用アルミ板、そして本体材料です。材質は7075、毎回書いてしまいますが高価です。 Drawing, aluminum plates for jig and 7075 aluminum for master rod. |
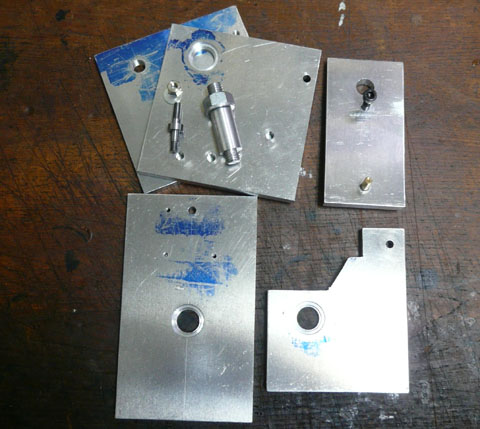 初めにジグを作ってしまいます。これらにセットしてほとんどすべての作業は出来ます。これが正確にできあがった時点でほぼ半分は作業完了と言っても過言ではないかもしれません。 初めにジグを作ってしまいます。これらにセットしてほとんどすべての作業は出来ます。これが正確にできあがった時点でほぼ半分は作業完了と言っても過言ではないかもしれません。First I made the jigs. When I have made all jigs precisely, it is not overestimated that half of the work has already done. |
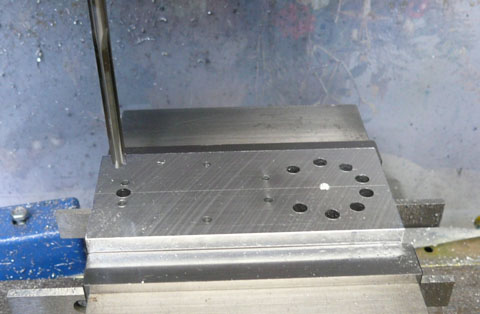 まず穴あけです。 まず穴あけです。クランクピンのセンターの位置だけ決めて、後の穴はここを基準にDRO頼りにあけています。 リーマーを通しているところです。 First I drilled and reamed all holes. |
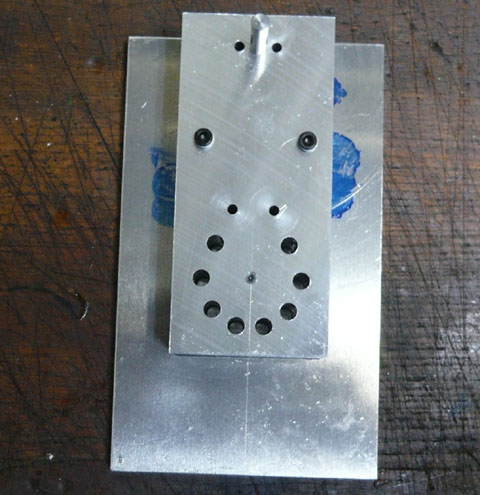 センター穴以外があきました。 センター穴以外があきました。これから旋盤にセットしてセンター穴をあけ外形旋削をします。 Set on the fixture. |
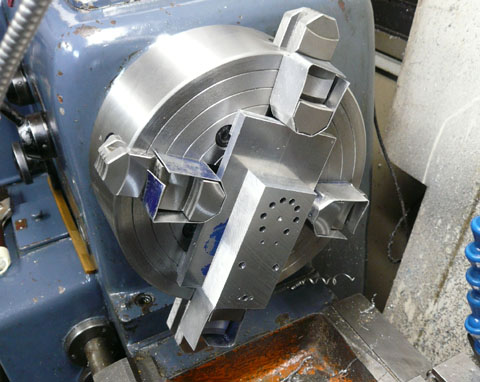 旋盤にセットしました。 旋盤にセットしました。外形旋削のため爪より被削材が突出していなければならないのでプレートに固定して旋削しました On the 4 Jaw chuck. |
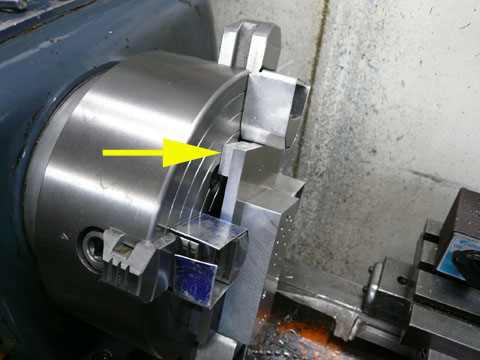 黄色矢印部でかさ上げしています。 黄色矢印部でかさ上げしています。表面にダイアルゲージを走らせても良いのですが、かさ上げとセンター出しを同時にするのは非常に大変なのではじめからかさ上げをしてあります。 To turn the surface, the material must protrude from the the chuck.. To do it, I set the aluminum plate (yellow arrow). |
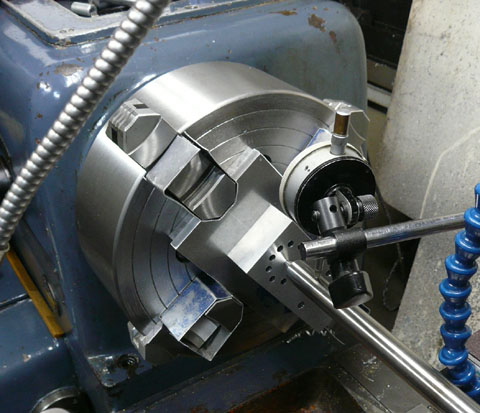 センター出しをしています。 センター出しをしています。Center finding. |
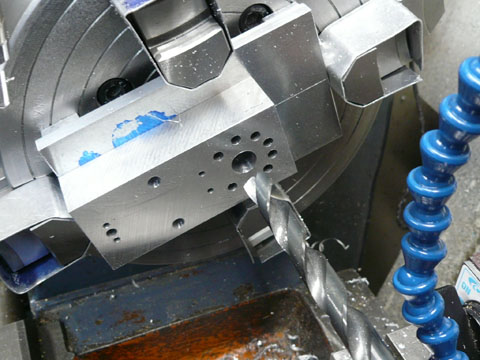 クランクピンの穴あけです。 クランクピンの穴あけです。もちろんこの後の最終仕上げはボーリングバーを使います。 Drill the hole for crank pin. |
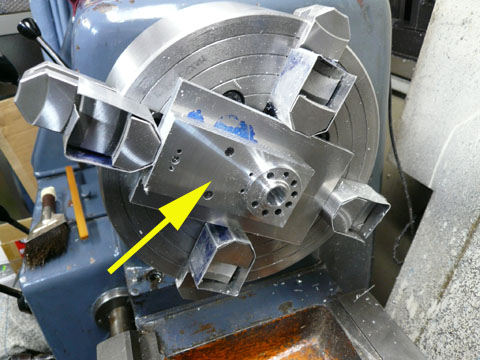 黄色矢印で示す部分の切削をしました。 黄色矢印で示す部分の切削をしました。Turn the surface indicated by yellow arrow. |
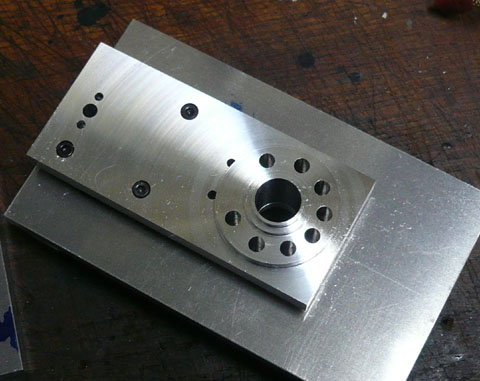 両面とも同じ切削をします。 両面とも同じ切削をします。ベースの固定板には突出部を入れるためのへこみが掘ってあります。 また固定ねじの頭が削り飛ばされないようあらかじめザグリをしてあります。 Turn bilateral side. |
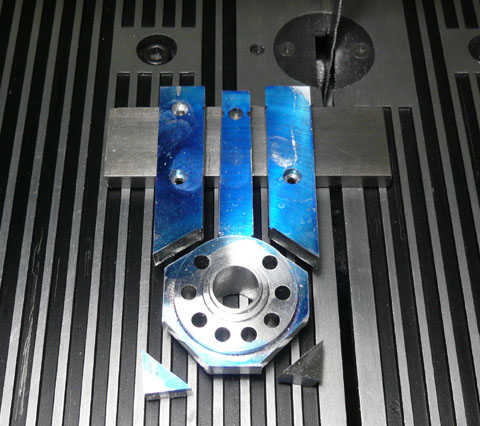 外形の切断をすませました。 外形の切断をすませました。Saw out. |
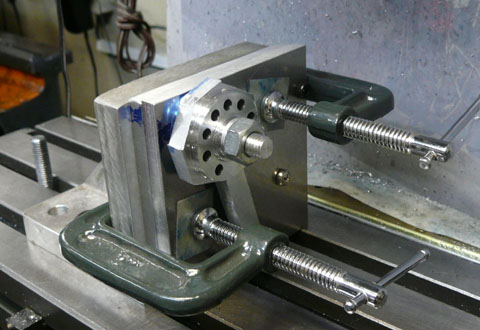 スレーブロッドのはいる溝の切削です。ジグにセットしてアングルプレートに固定して削ります。 スレーブロッドのはいる溝の切削です。ジグにセットしてアングルプレートに固定して削ります。Set on the fixture to mill. |
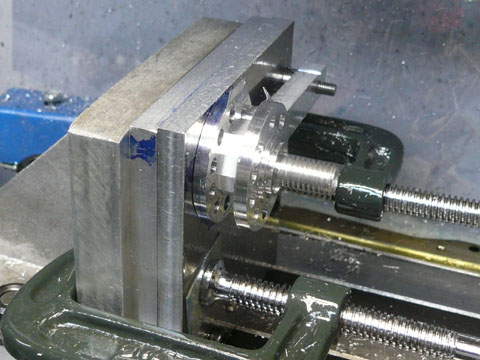 違う部位の切削です。 違う部位の切削です。Another part. |
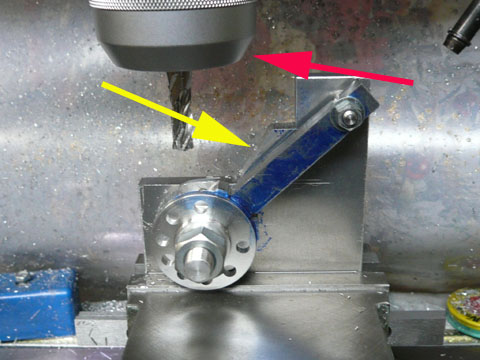 一番ロッドに近い部分の切削です。赤矢印で示すコレットがジグに干渉しないようにジグは切りかき(黄色矢印)がつけてあります。 一番ロッドに近い部分の切削です。赤矢印で示すコレットがジグに干渉しないようにジグは切りかき(黄色矢印)がつけてあります。Milling the place where is next to the rod. Avoid to touch the collet with fixture, jig was cut like this. |
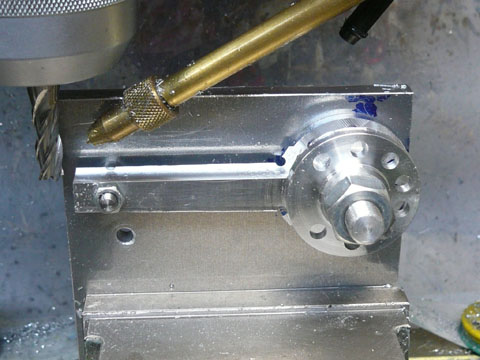 マスターロッド部の切削です。わずかにテーパーが付いています。 マスターロッド部の切削です。わずかにテーパーが付いています。Milling the rod. |
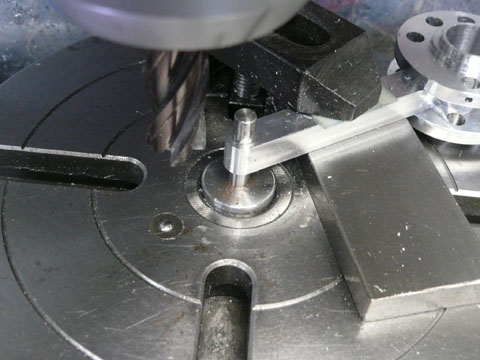 ロッドエンド部のr削りです。 ロッドエンド部のr削りです。Round cutting. |
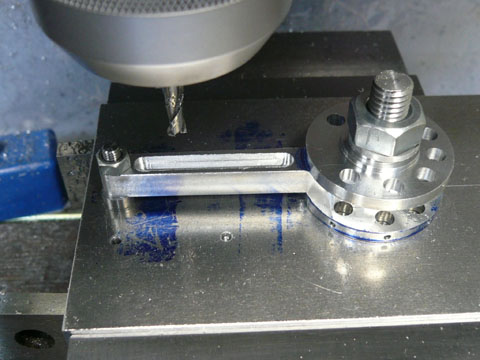 最後の肉抜きをしています。 最後の肉抜きをしています。Milling the rod center. |
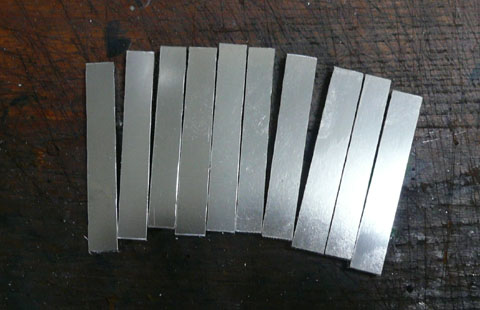 次はスレーブロッドです。予備を含めて10本です。 次はスレーブロッドです。予備を含めて10本です。10 slave rod material. |
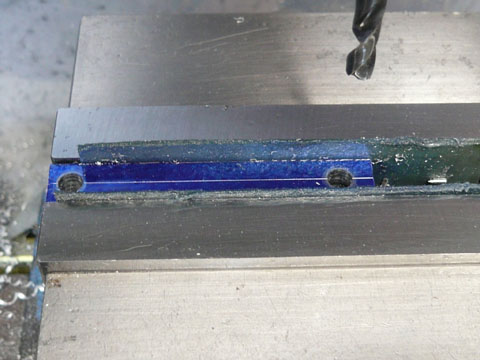 両端の穴あけです。4.9mmドリルで穴あけし、5.00mmリーマーを通しておきます。 両端の穴あけです。4.9mmドリルで穴あけし、5.00mmリーマーを通しておきます。First I drilled and reamed the two holes |
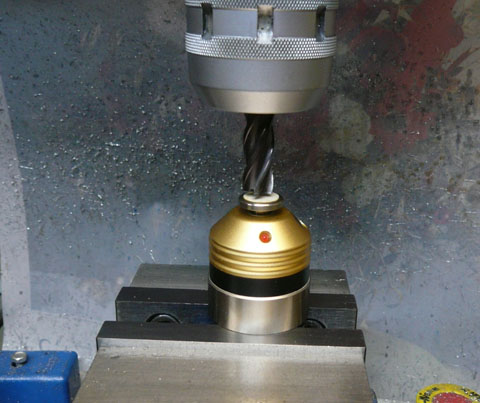 ベースマスターを使い刃先位置の測定をしています。 ベースマスターを使い刃先位置の測定をしています。刃先がマスターに触れると手前のLEDが点灯します。 このとき刃先は基準面から50mmの位置にあります。 再現性は数ミクロンです。 Check the position of the tip of endmill. |
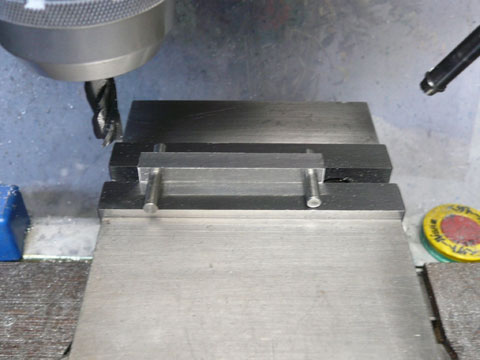 ロッド側面の切削です。ロッド幅は8mm、ピン太さは5mm。 ロッド側面の切削です。ロッド幅は8mm、ピン太さは5mm。口金から6.5mmの所まで削ればOKです。 milling. |
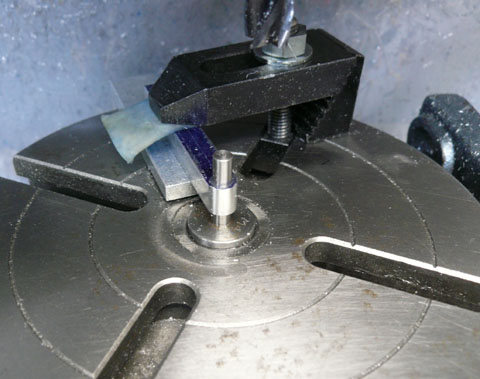 ロッドエンドr切削です。 ロッドエンドr切削です。Round cut |
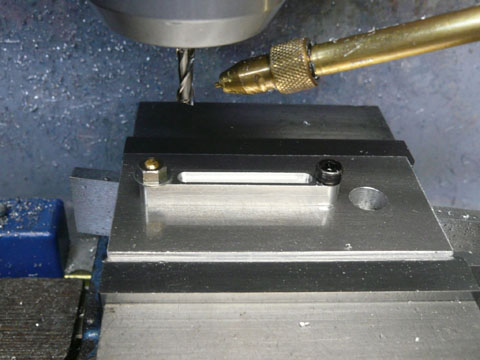 最後の肉抜きです。必ずしもジグは必要ないのですが、ピンで位置決めしました。肉抜きなのでここまでの必要は全くありません。 最後の肉抜きです。必ずしもジグは必要ないのですが、ピンで位置決めしました。肉抜きなのでここまでの必要は全くありません。Milling. |
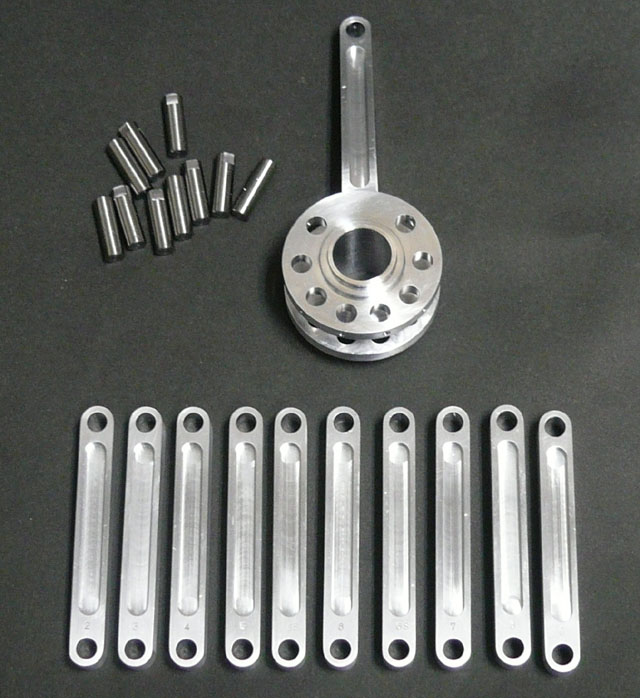 全部品がそろいました。 全部品がそろいました。Completed. |
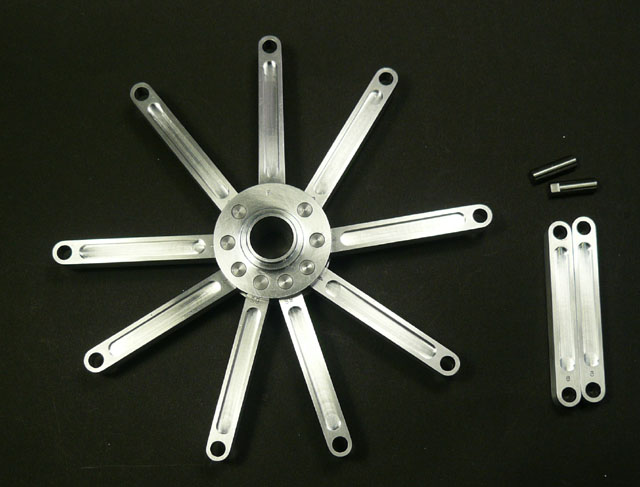 組んでみました。 組んでみました。実は5,6番スレーブロッドの軸間が7.83mmしかありません。5番6番のスレーブロッドは他と同じサイズでは入らないので幅を0.2mmほど小さく作ってあります。 Assembled |
| 次はグライダーの翼を作ります。その次はシリンダーを予定しています。 |