![]()
|
2012-1-10 engine mount No.2 |
今回もエンジンマウントです。出来るだけロウ付け部分を無くしたタイプを目指しました。これなら振動で剥がれる心配もまず無いと思います。
This time I made another type of engine mount.
In this type I attempted to avoid silver soldering as much as I can.
This will be strong and stand for vibration.
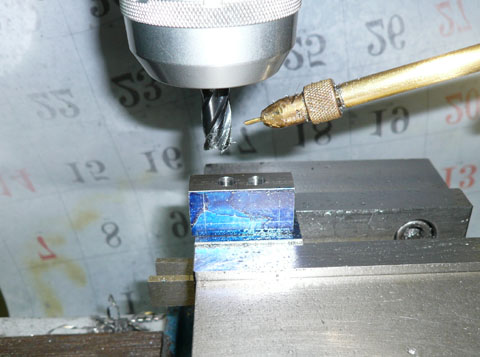 ブラケットをはじめに作ります。 ブラケットをはじめに作ります。バイスに挟める部分が5mmしかありません。 がっちりくわえて加工したつもりですがはずれて一個駄目にしました。 例の「危ないかも知れないと感じることは必ず危ない」・・・・です。 ブラケットをベースに固定するネジ穴を使い固定具に固定して作業しました。 First, I milled out the bracket holder. It has only 5mm to vice. I felt it was somewhat dangerous and it slipped out! When I feel it dangerous, it must be dangerous. It was fixed with screw on the fixture. |
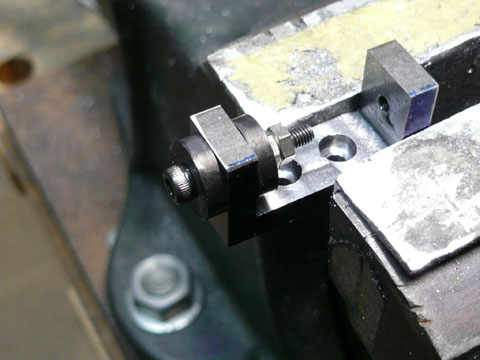 R削りです。 R削りです。焼きの入ったコマを両側にセットして手作業です。一カ所10分もあれば完了します。 Round hand filing with heat treated loller. It takes about 10 minutes. |
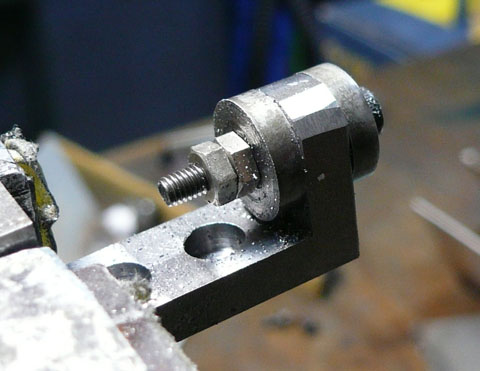 作業途中です。 作業途中です。Hand filing. |
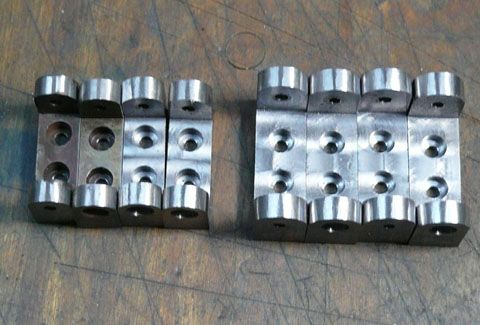 完成しました。右が今回作った物、左は前回のエンジンマウント用の物です。 完成しました。右が今回作った物、左は前回のエンジンマウント用の物です。Completed. Right side are for new engine mount. |
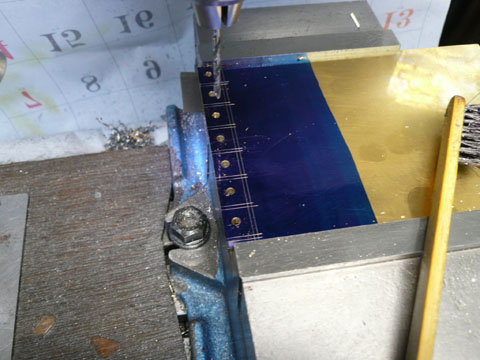 固定部を作ります。まとめて7個です。 固定部を作ります。まとめて7個です。穴あけが終了しました。 Fixing portion. |
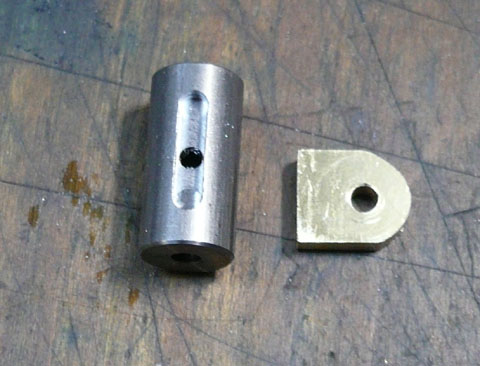 右側の部品を作っています。 右側の部品を作っています。左右はロウ付けをします。 Now I am making the part shown in right. |
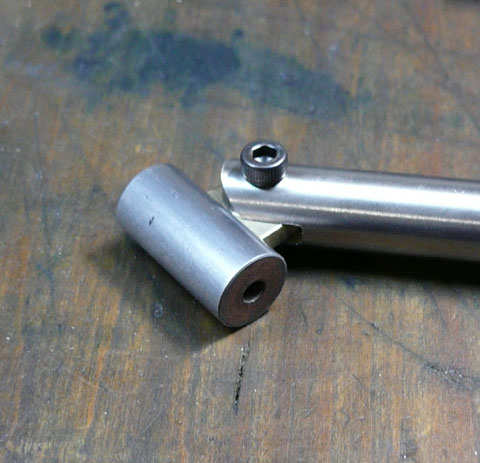 試作品です。 試作品です。こんな感じになる予定です。 Trial one. |
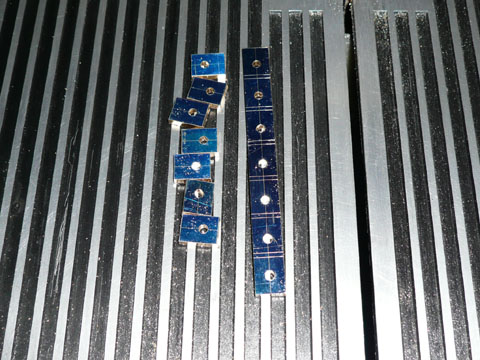 切り出しをしています。 切り出しをしています。Cut by band saw. |
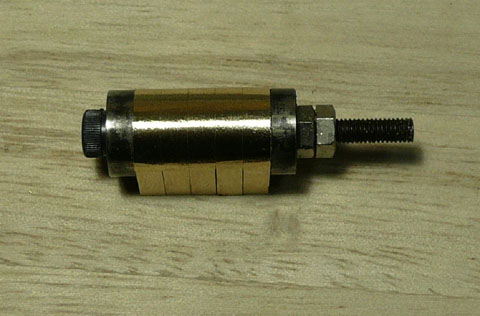 5個まとめてR削りをしました。 5個まとめてR削りをしました。Round hand filing. |
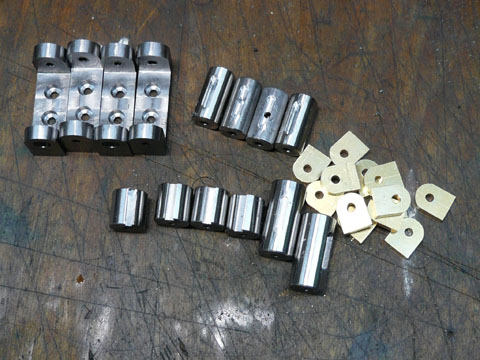 完成したパーツです。 完成したパーツです。All the parts. |
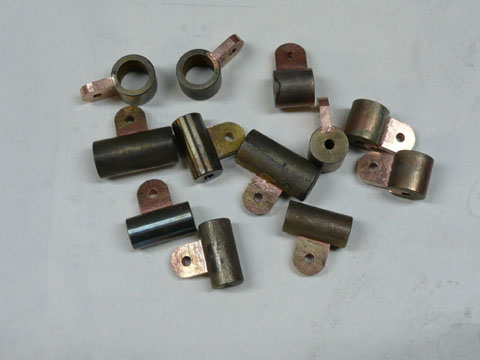 全部ロウ付けが終わりました。 全部ロウ付けが終わりました。今回は熱が逃げないし、熱容量差もありません。ロウ付けとしては極めて簡単でした。 全部のロウ付けは1時間ちょっとで終えることが出来ました。前回の一ヶ月と比べると雲泥の差です。 Silver soldered. This type of silver soldering is very easy. It took only one and half hour for silver soldering all . |
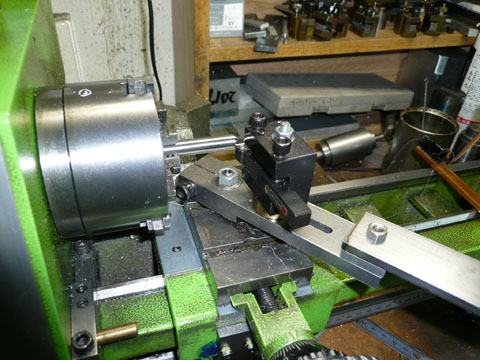 トラス部は今回はむくのステンレス棒を使いました。先端部をR削りをしています。 トラス部は今回はむくのステンレス棒を使いました。先端部をR削りをしています。Round cutting of the end of the truss on the lathe. |
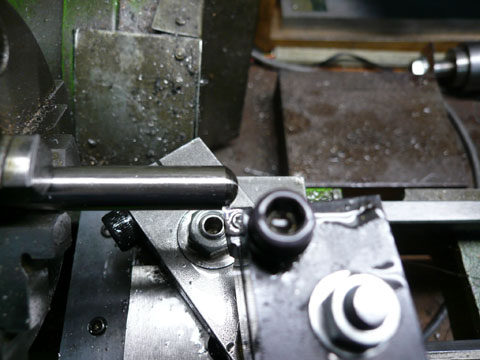 こんな感じで削れます。 こんな感じで削れます。close up view |
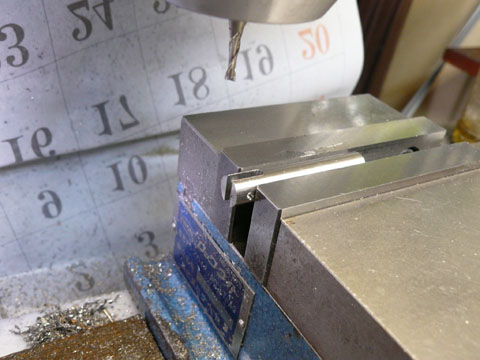 スリ割り部のミーリングです。 スリ割り部のミーリングです。これは試作品の時の写真なので先端がR仕上げしてありません。 groove cutting. |
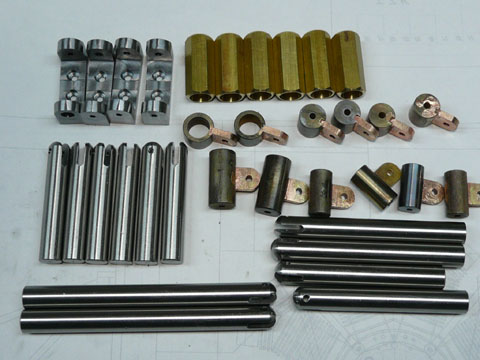 全部品が完成しました。 全部品が完成しました。All the parts are now waiting for polishing |
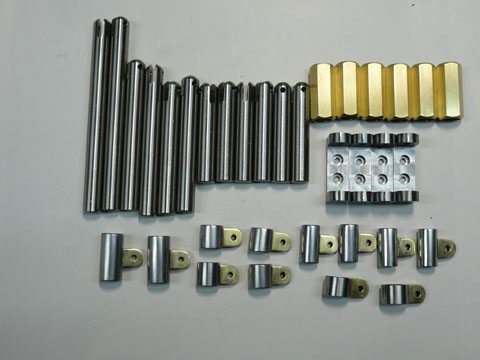 研磨作業も終了しました。 研磨作業も終了しました。Polished. |
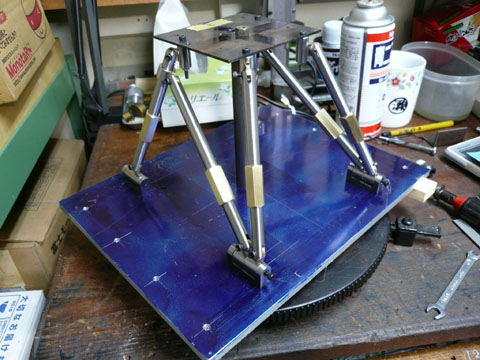 ジグにセットして固定しています。 ジグにセットして固定しています。固定はロックタイト648を使いました。 特に熱がかかるところではないのですが手元に648しかなかったのでこれを使いました。 Fixed on the jig. I used Loctite 648 for fixture. |
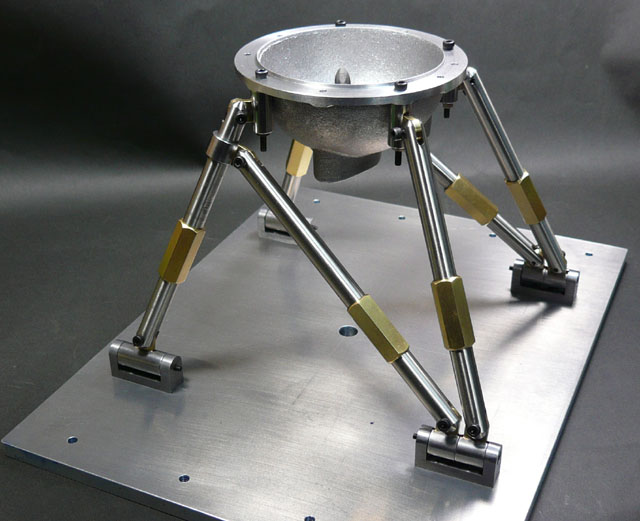 完成しました。 完成しました。completed. |
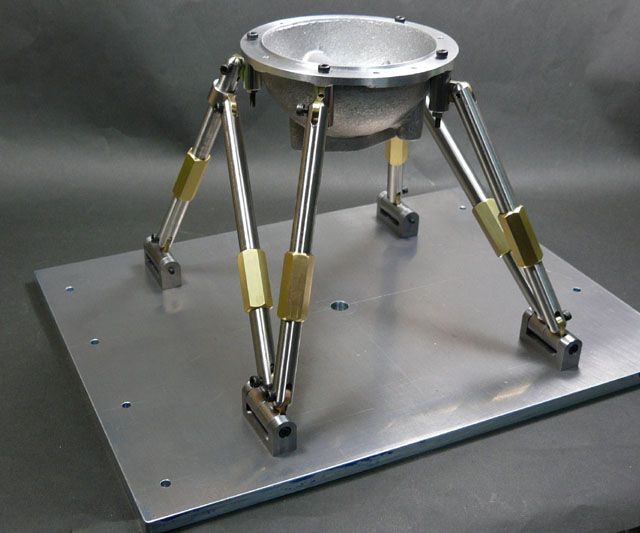 別の角度から 別の角度からanother view. |