![]()
|
2012-3-5 valve check and re-make |
前のエンジンのKinner 5radialで盛大なバルブリークを経験しました。今回はシリンダーヘッドにセットする前にチェックしました。
今まではどうやって作っていたのかと思い過去ログをチェックしましたが、一度も作り方は載せていませんでした。バルブガイド部とバルブシートの同芯性が問題になるだけの簡単な作業と考えていたのですが、これが大間違えと言うことが良く分かりました。
In former Kinner 5 radial, I encountered with great valve leakage. So I checked the valves before they were installed on the cylinder head.
I noticed that I have never shown how to make the valve guides.
I thought it was easy to make them but in truth it was not so.
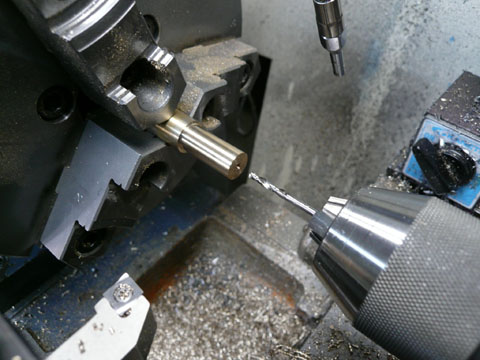 今までの作り方です。 今までの作り方です。まずはじめに3mm超硬ドリルでガイド穴を開けます。 I show the previous way. First dill the guide hole with 3mm drill. |
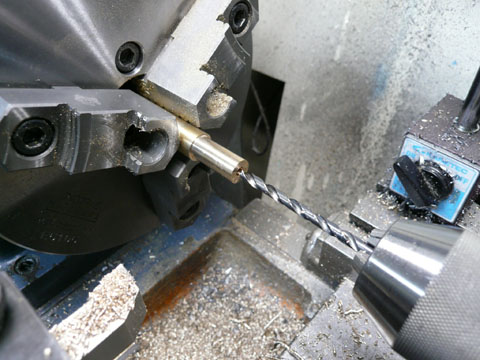 次いで4.9mmドリルで穴開け。 次いで4.9mmドリルで穴開け。Then drill with 4.9mm |
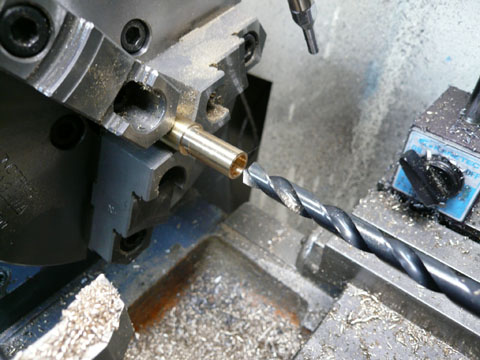 次いで10mmで止まり穴開け。 次いで10mmで止まり穴開け。これで5mmと10mmの穴は同芯なはずだったのですが・・・・ Then drill with 10mm. The second 4.9mm hole and the third 10mm hole are expected to be coaxial, but.... |
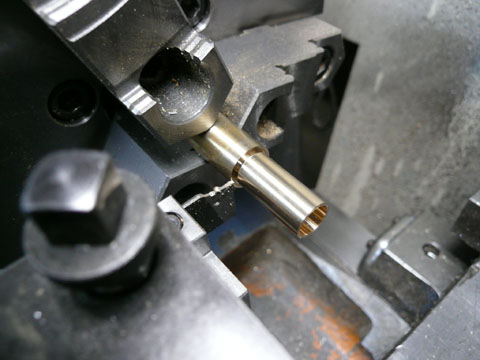 突っ切ります。 突っ切ります。part off |
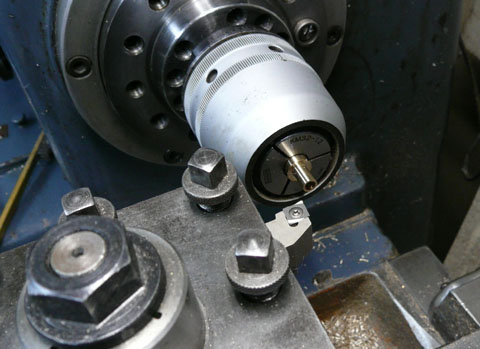 トンボして反対側を仕上げます。 トンボして反対側を仕上げます。これはコレットで作業していますが、今まではスクロールチャックでやっていました。 外周と穴の同芯性は要求されていないのでスクロールチャックでもOKです。 Turn the other side. In this picture I used 12mm collet but in previous way I used scroll chuck. The coaxial of hole and outer surface was not expected , so there was no problem to use scroll chuck |
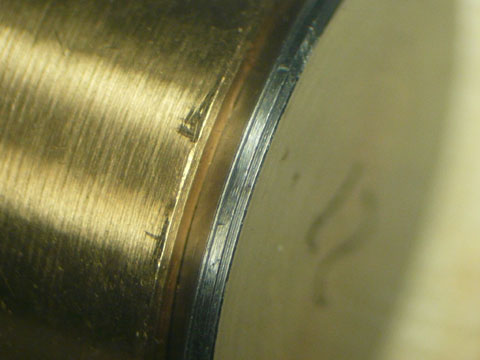 バルブとシートの密着性を顕微鏡でチェックしました。ここは良く密着しています。 バルブとシートの密着性を顕微鏡でチェックしました。ここは良く密着しています。I check the valve and valve guide with micro scope. They fit closely in this picture |
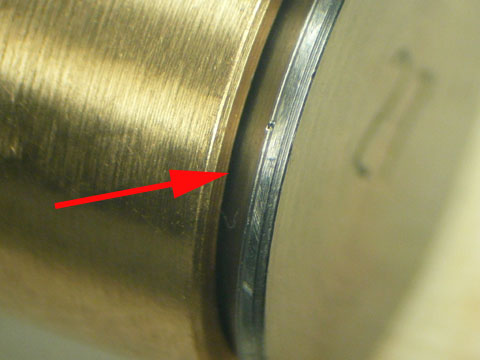 回していくとここは隙間があいてしまいます。これではまたまた盛大なリークでしょう。 回していくとここは隙間があいてしまいます。これではまたまた盛大なリークでしょう。Another portion, you can see the gap and it will cause the great leak. |
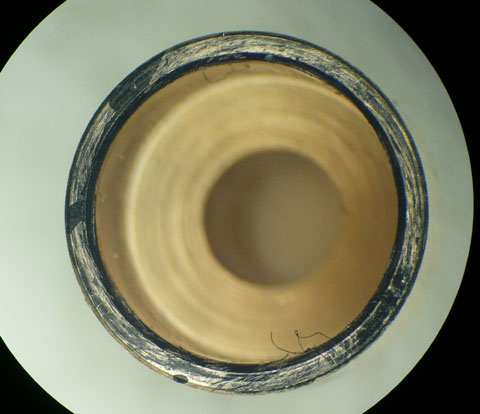 バルブシート側がどうなっているかチェックします。全周にマジックインキを塗りました。 バルブシート側がどうなっているかチェックします。全周にマジックインキを塗りました。On valve seat, I painted with black marker. |
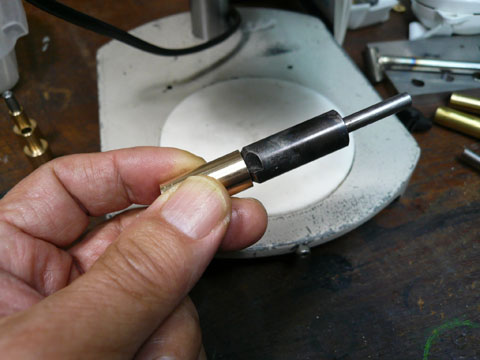 シートカッターを当てています。 シートカッターを当てています。Apply the seat cutter. |
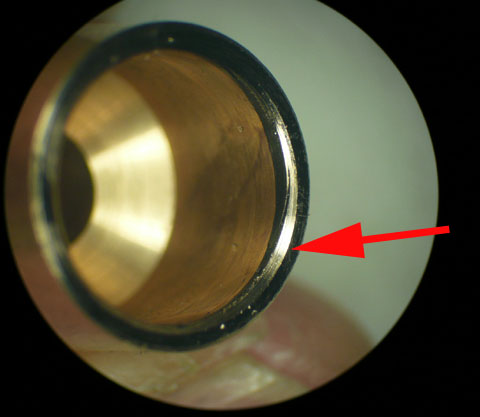 この部分はシートカッターが当たっています。 この部分はシートカッターが当たっています。In this part, seat cutter cut the seat. |
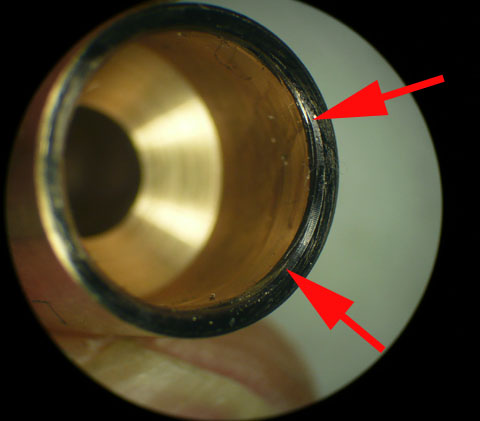 同じバルブですが赤矢印間はシートカッターが全く当たっていません。要するにバルブ幹とシート部が同芯になっていないようです。 同じバルブですが赤矢印間はシートカッターが全く当たっていません。要するにバルブ幹とシート部が同芯になっていないようです。皿もみするときに先にネジ穴を開けてしまうとさらもみカッターがビビリます。 これと同じように5mmの穴を開け10mmで追加の穴を開けると材料は同芯で回っていても穴は振れてしまうようです。穴あけは難しいです。根本的に方法を変えないと駄目です。 On the same valve, between red arrows, the seat cutter can not touch with the seat. The valve stem and seat are not coaxial. I had to change the way. |
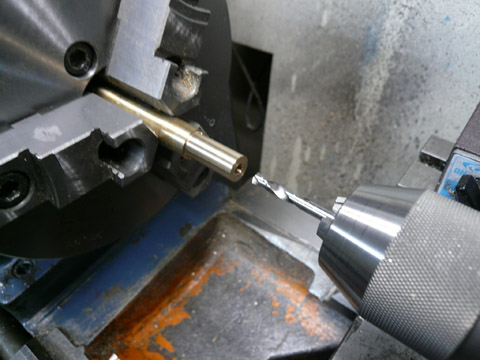 3mmのガイド穴次いで5mmの穴あけでも上と同じ様なことが起きているはずです。 ガイド穴あけは止めにしていきなり5mm超硬ドリルで穴あけをしました。 この部分も以前は4.9で開けてあとからリーマーを通していましたが、そこそこの精度があれば問題ないのでいきなり5mmで穴あけしています。(要求精度に応じて手を抜くことを覚えました) 砲金にリーマーを通すのは刃が食い込み気味になりすごく難しいのも一つの理由です I can not send this picture. I'm now cheking the reason. First I stop to make guide hole. I started with 5mm tungsten carbide drill |
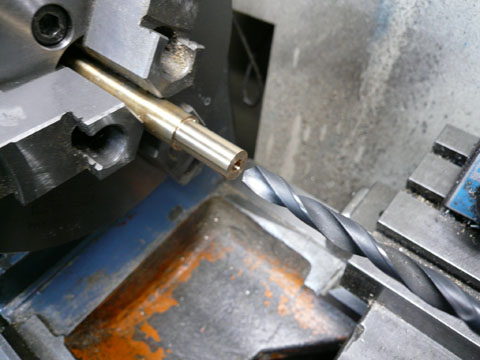 次いで9.5mmのドリルで穴あけします。 次いで9.5mmのドリルで穴あけします。ドリルは今回刃先を殺した物を使いました。 食い込みに気を使わなくて良いのですごく楽になりました。 刃先を殺すのは知ってはいたのですがもったいなくて出来ませんでした。今回はセット販売されている価格の安い物の刃先を殺しました。 Then I used 9.5mm drill. |
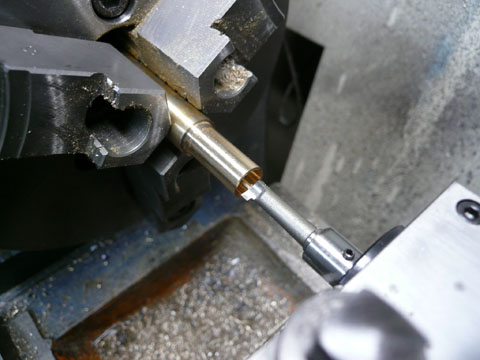 次いでボーリングバーで10mmまで拡張します。バーリングバーの刃先が当たる音を聞いているとドリル穴の偏芯が良く分かります。 次いでボーリングバーで10mmまで拡張します。バーリングバーの刃先が当たる音を聞いているとドリル穴の偏芯が良く分かります。ドリル穴あけのガイド穴は開けるとすればチゼルポイントの直径を超えない程度が適正なんでしょうね。 これ以上大きいとぶれが出て偏芯してしまうようです。 更に正確な穴は中ぐりが必要のようです。 The third step is to boring 0.25mm thick with boring bar. When I heard the sound of cutting, I could easily find the inaccuracy of the drill hole. |
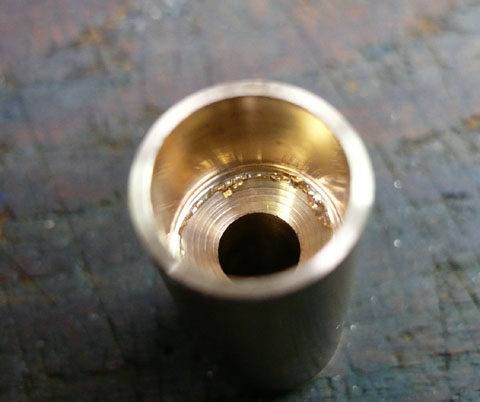 ボーリングバーで仕上げてあるのでそこにバリが出てしまいます。チャックからはずさないうちに9.5mmドリルでこの部分だ再度さらっておきました。 ボーリングバーで仕上げてあるのでそこにバリが出てしまいます。チャックからはずさないうちに9.5mmドリルでこの部分だ再度さらっておきました。こうして作ったバルブガイドはシート部が非常に良く密着します。 作ってあった物もシートカッターを強く当てれば密着するように出来るのですが、気持ちが落ち着きません。 At the bottom, you can find the burr, so I debarred with 9.5mm drill . |
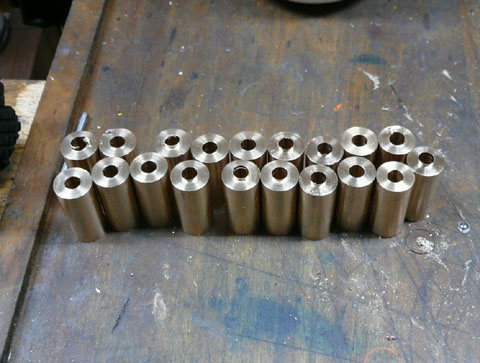 結局全部作り直しました。 結局全部作り直しました。Finally I re-made all. |