

2006-12-11 front cover
今回はフロントカバーです。
厚みがないため直接チャックで把持できないので工夫が必要でした。
This time I made front cover.
I made fixing bar and turn on it.
 材料です。 材料です。90φ29t 2024アルミです。 Material: 2024 aluminum 90 φ 29t |
 内側面をはじめに仕上げます。オイルシール、ベアリングハウジングの切削を終わり、肉抜きをしています。 内側面をはじめに仕上げます。オイルシール、ベアリングハウジングの切削を終わり、肉抜きをしています。First I finished the inner side of front cover. Boring the oil seal cavity and bearing housing and now boring the weight reducing area. |
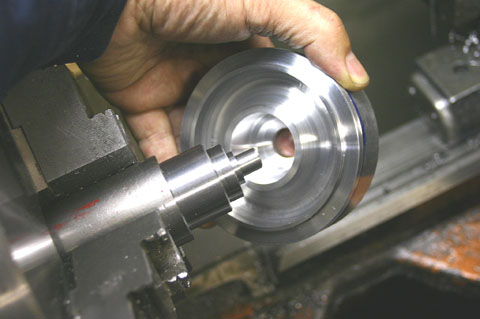 次は外形切削です。やといを作りこれにはめ込んで切削します。 次は外形切削です。やといを作りこれにはめ込んで切削します。Then machining the outer side on the fixation. The fixation was turned on the 3 jaws chuck and never removed before all the machining is completed. |
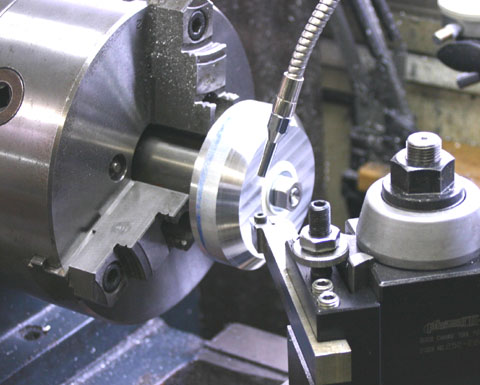 やといにはめ込み切削を始めました。 やといにはめ込み切削を始めました。Machining on the fixation. |
 斜め部分の切削が終わりました。 斜め部分の切削が終わりました。Finished. |
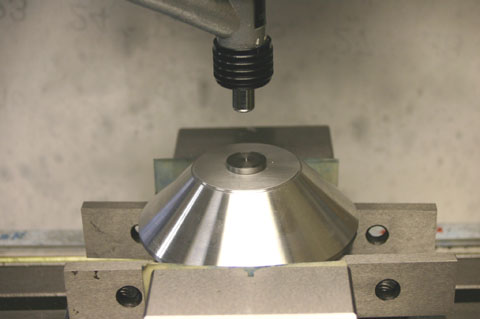 次はフロントカバー固定ボルトの穴あけです。 次はフロントカバー固定ボルトの穴あけです。クランクシャフト穴にぴたりの栓をして、このセンターをファインダーで見つけ,DROの原点として、後は座標頼りに穴あけをしました。 Next,drill the front cover fixing hole. First I put the spigot in the crank shaft hole and find the center by scope. Then I drilled with DRO. |
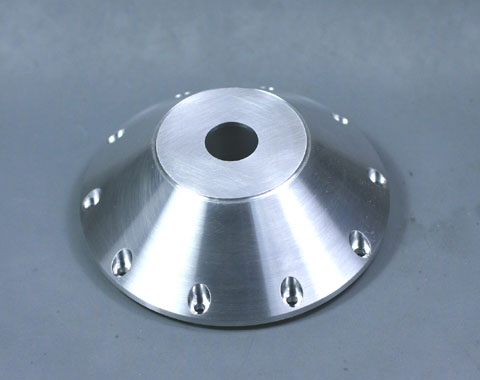 完成しました。 完成しました。Finished. |
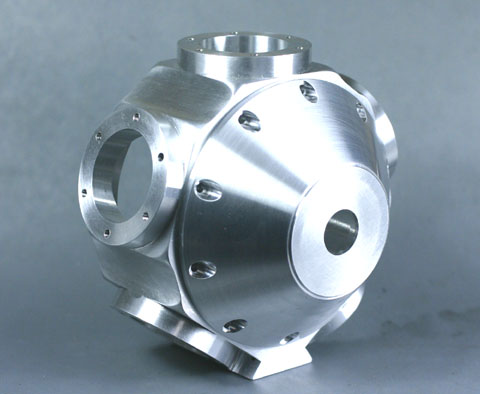 クランクケースにセットしてみました。少しエンジンらしくなったでしょうか。 クランクケースにセットしてみました。少しエンジンらしくなったでしょうか。On the crank case. It becomes like an engine. |
カムシャフト用ギアーの納期が遅れ作業が滞っています。
規格表頼りにシャフト穴をあけてしまってもいいのですが、ちょっと不安です。(少しバックラッシュをとりたいです。)
ギアーケース、ギアーケースカバー、インテークマニフォールドカバー全てにシャフト穴が貫通しますのでだめだとあまりにダメージが大きいです。