![]()
2008-4-20 photointerrupter
今回はフォトインタラプターを使った点火回路です。
センサー部分とトランジスタイグニションシステムで構成されます。
This time, I made ignition system using photo interruptor.
This system consists of sensor part and transistor ignition system.
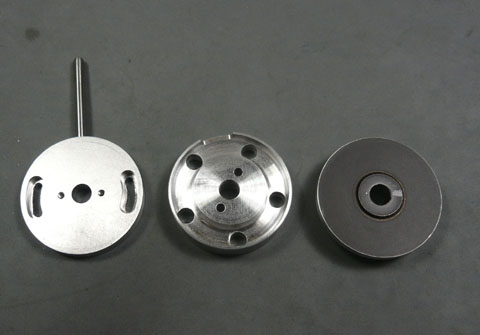 センサー部分です。 センサー部分です。前回のエンジンでは機械式ディストリビュータを使いましたが、今回のエンジンでは前のと同じサイズのものは取り付けるスペースがありません。 小さいものにすると極端に不安定になります。 原典でも図面通りでは調子よくなくサトラ(Bruce Satra ,Vernal engineering)のものに変えたと書いてあります。 私はフォトインタラプターによるものに挑戦です。 一番右の円盤にはまだ反射部が貼ってありません。 Sensor part. Kinner has no space where I can use previously made distributor system. Small distributor has many defects. In original article, Peter Decker wrote that original distributor had some trouble and he changed it to Satra's one. |
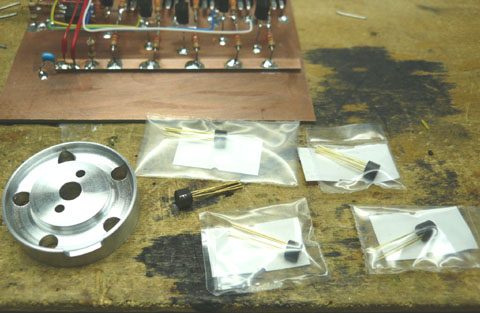 フォトインタラプターはKODENSHI のSG−2BCを使いました。 フォトインタラプターはKODENSHI のSG−2BCを使いました。I used KODENSHI SG-2BC photointerrupter. |
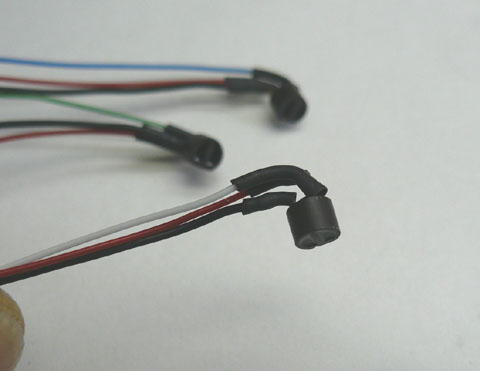 フォトインタラプタ部配線です。30φに5個埋め込まなければならないのでコンパクトにしないとなりませんでした。 フォトインタラプタ部配線です。30φに5個埋め込まなければならないのでコンパクトにしないとなりませんでした。Solder the wire to the photointerrupter. |
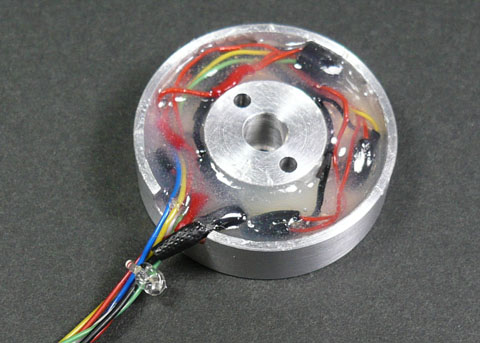 セットしてエポキシでかためました。 セットしてエポキシでかためました。Set photointerrupters in the sensor disk, and fixed by epoxy glue. |
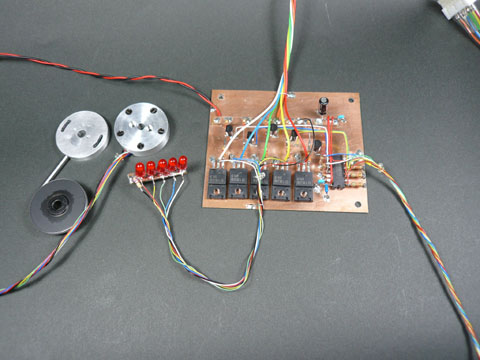 トランジスタイグニションモジュールとセンサー部分です。 トランジスタイグニションモジュールとセンサー部分です。イグニションコイルは5個使います。 回路そのものは前々回書いたものです。 Transistor ignition module and sensor. |
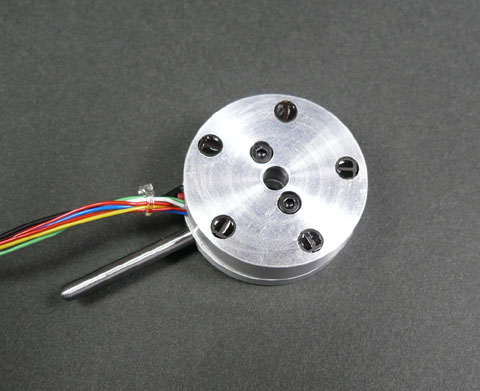 センサー部分です。 センサー部分です。下の円盤についている棒は進角のためのものです。(当然手動です) Sensor disc. Small bar is for ignition advancement. |
次回はギアーポンプを予定しています。
エンジンマウント、キャブレターを作るとほぼ完成。ようやく先が見えてきました。