![]()
|
2009-4-25 foam cutting |
前回作ったCNCフォームカッターで翼のコアーを切ってみました。
カッターの動きはCNCですから問題はありません。バックラッシュも0.02くらいでした。
しかし実際に切るのは熱線で、熱量により切れ方が大きく変わります。
ソフトである程度は補正できるのですが・・・・
苦労の始まりでした。
I tried to cut the core of the wing by home blew CNC foam cutter.
The movement of the cutter is perfect because it was controlled by PC but real cut was done by heat of the wire.
It was affected by voltage, speed and thickness of the wire.
It has many parameters and it was very difficult to find the best way.
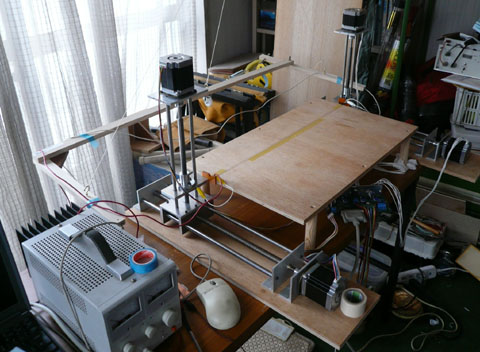 カッター全体像です。 カッター全体像です。熱線支柱間距離は600mm。熱線は0.3mmステンレス線。 ステンレス線を張る弓ははじめはキャスターで動いていましたが、前縁部で動く方向が変わるときに少し引きずりわずかですが弓の動きを障害します。 ということで天井からつるしています。 熱線に給電するコードがどこかに触れるだけでも動きは影響を受けますので細心の注意が必要です。 This is my CNC foam cutter. Wire bow was suspended from the ceiling to get smooth movement. |
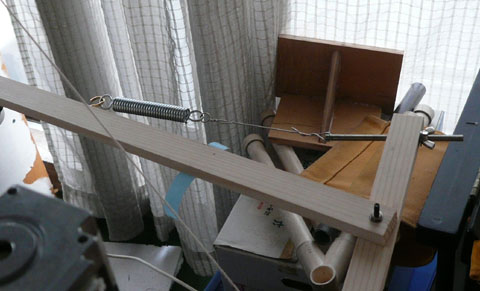 ワイヤーテンションをかける機構です。 ワイヤーテンションをかける機構です。先達の意見に従い自転車のスタンド用スプリングでテンションをかけています。 ワイヤーをはじいたときに澄んだ音がするくらい強く引いています。べんべんと琵琶の音のようではだめだそうです。 This is the wire tensioner made by the spring of stand. The wire made clear sound when it was picked by finger. The tension is rather strong. |
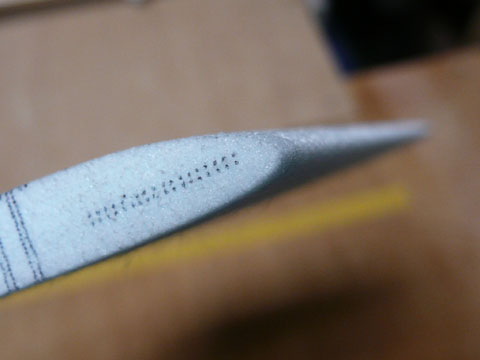 いろいろ条件を変えて切ってみました。 いろいろ条件を変えて切ってみました。条件は電圧、電流、切削速度、kerf(熱による引け)を変えます。 電圧は1v刻み毎、切削速度は0.5mm/sec刻み。引けは0.2mm刻みで変えましたので結構大変でした。 きれいに切れました。 movie 切削中の動画です。 I tried to cut under many conditions. The parameters are voltage and current, cut speed, kerf. I changed the voltage at 1V step, cut speed 0.5mm/sec step and kerf 0.2mm step. Good ! |
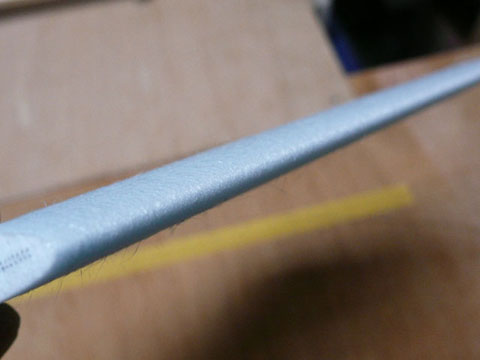 前縁のラインもきれいに出ました。 前縁のラインもきれいに出ました。Leading edge is good too. |
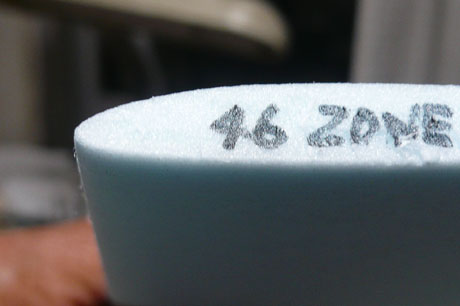 反対側の翼型もちゃんと切れました。 反対側の翼型もちゃんと切れました。これでOKと思ったのですが・・・・ 物作り全般に言えることでしょうが、それらしい物を作るのと仕様通りに作るのは全く別の次元です。 自分で意図したサイズぴったりに切るのは結構難しかったです。 The other side of the wing. The airfoil was changed from zone52 to 46. Generally in making something., it is deferent to make things like that and make it completely according to the specifications. It is very difficult to cut the wing as I intended on the paper. |
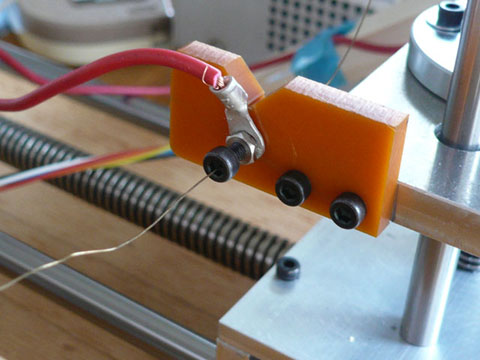 ワイヤー支持部と給電部です。 ワイヤー支持部と給電部です。この部分でワイヤーがしょっちゅう切れました。 The wire was often cut on the support and electrical supply. |
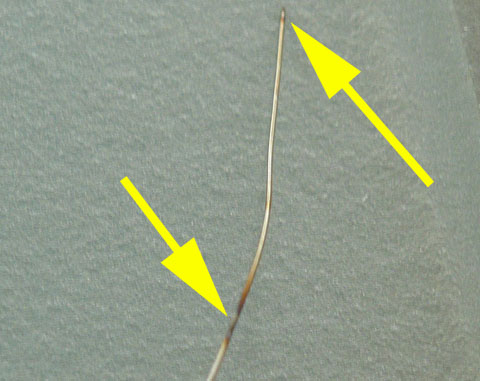 切れた部分をよく観察すると明らかに高熱になった部分があり、ここで切れているようです。 切れた部分をよく観察すると明らかに高熱になった部分があり、ここで切れているようです。給電部での接触抵抗が高い様です。 ワニグチクリップで給電を補強しましたら、この現象は収まりました。 When I check it carefully, I found that the color is apparently changed from another part. High temperature was caused by unstable touch. I made another touch point and this was ceased |
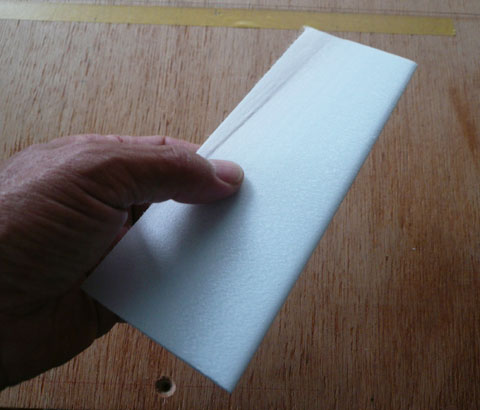 主翼は材料も大きく、失敗によるダメージも大きいので水平尾翼をはじめに切ってみることにしました。 主翼は材料も大きく、失敗によるダメージも大きいので水平尾翼をはじめに切ってみることにしました。水平尾翼はこのくらいの大きさ。 翼端での厚みは2mmくらいです。 これが難しいのなんの、失敗の連続。 I tried to cut horizontal stabilizer. This is the real size. The thickness at the end point is about 2mm. It is very difficult to cut them! |
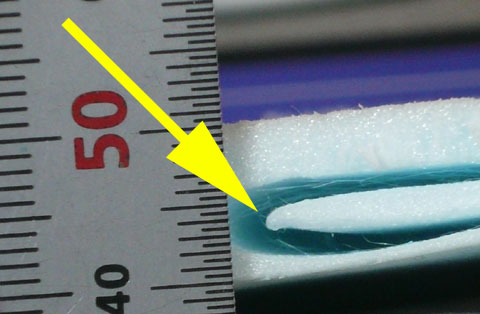 写真のように前縁が溶けてしまいます。 写真のように前縁が溶けてしまいます。切削速度そのものはソフトで一定速度になるようにコントロールされています。しかし前縁部では単位面積あたりにとどまっている時間が直線部より長いためでしょうか、熱で変形をしてしまいます。 Like this picture, the leading edge was always melted down. |
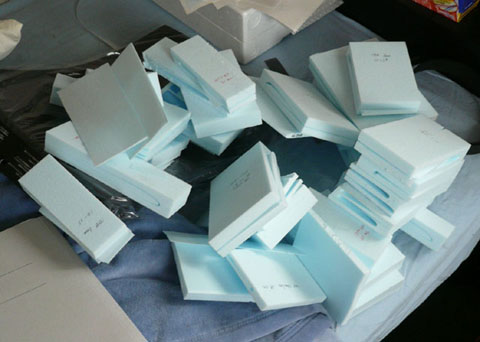 条件を変え切っても切っても失敗。 条件を変え切っても切っても失敗。翼中央と翼端では長さの比が1:0.57 動く速度が約半分になっています。 中央がうまく切れる条件では翼端は過熱してしまいます。 翼端がちょうど良いと中央部は引きずれてワイヤーがたわんでしまいます。 In any condition, melted. The ratio of the center and wing tip is about 1:0.57. The speed ratio is same. When I cut the center in good condition, the tip is over cooked, and tip in good condition, the wire was retracted. |
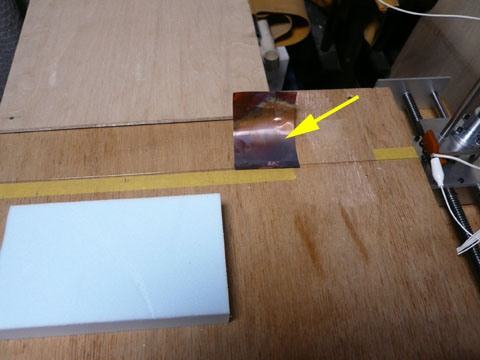 ワイヤーに熱勾配を持たせたらということで0.1t銅板を巻いてみました。銅板が変色しているのはワイヤーの熱のせいではなく、線との密着性を良くするため焼きなましたためです。 ワイヤーに熱勾配を持たせたらということで0.1t銅板を巻いてみました。銅板が変色しているのはワイヤーの熱のせいではなく、線との密着性を良くするため焼きなましたためです。I tried to attach the thin copper plate to cool the wire on the wing tip. |
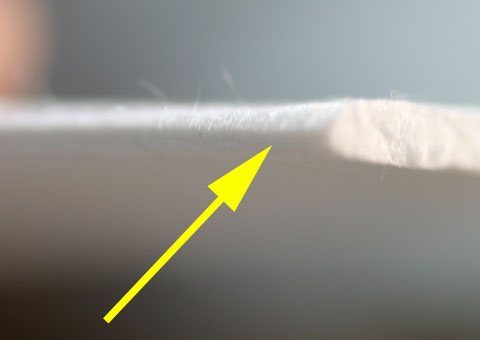 銅板を翼端に近づければ近づけるほど熱は下がり断端部ではきれいに切れます。 銅板を翼端に近づければ近づけるほど熱は下がり断端部ではきれいに切れます。しかし熱勾配はそこから急に立ち上がるためすこし入ったところが引けてしまいました。 少しはなしてやるとそこそこきれいに切れました。 ただ、これが仕様通りかというとはなはだ疑問が残ります。 The closer to the wing tip, the better result on the foam cut surface. But in the foam, the heat became high and the kerf is bigger than cut surface. |
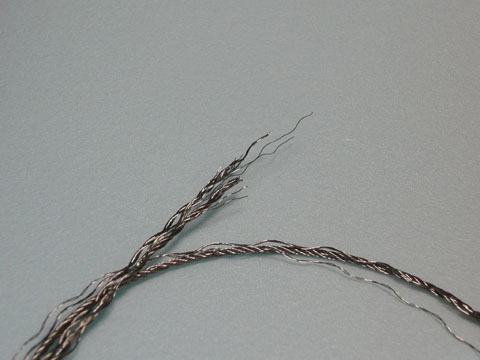 先達に相談したところワイヤーを細くしたらとのアドバイスをいただきました。 先達に相談したところワイヤーを細くしたらとのアドバイスをいただきました。主翼はテーパーがあってもきれいに切れます。 主翼が切れて尾翼が切れないのは大きさの差。 線が持つ熱容量を減らせば切り代の調整で何とかなるのでは・・・・・ということで細い線を探しました。 意外と見つかりません。結局撚り線をほどいて何とか0.16mmの物を調達しました。 波打はテンションをかけておいて赤熱させると消えました。 I tried to use thin wire. I found it in the twisted wire. I found them with 0.16mm wire twisted. The wave on the wire is disappeared with red heat(16V) with tension the bow. |
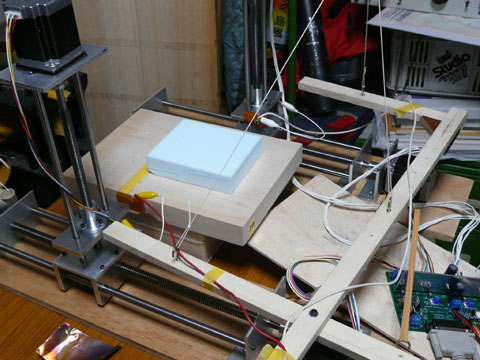 線が細くなったので前のままの長さではたわみが出やすいです。テンションを余りかけると切れそうです。 線が細くなったので前のままの長さではたわみが出やすいです。テンションを余りかけると切れそうです。と言うことで弓も小さくしました。テンションは輪ゴムでかけています。(20個くらい、右下の部分に見えています) The bow is shorten too. |
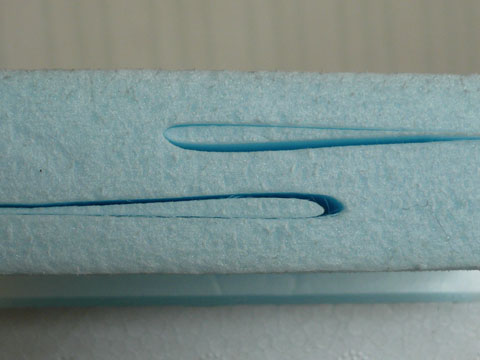 いろいろ条件を変えてきれいに切れました。 いろいろ条件を変えてきれいに切れました。切削条件を記載しておきます スタイロフォーム EK-Ⅱ(XPS extruded polystyrene) 0.16mm ステンレス線。 支柱間距離230mm 電圧8v(電流はこのとき0.6Aになっています) 切削速度2.56mm/sec(ソフトで設定できる最高値です) kerf 2mm/secの時0.8mm 1mm(1/2S)の時1.0mm スタイロフォームはテーブル中央にセット。 完全なradiant cut*ではないのでフォームは両面テープで台に固定しています。 1切削毎にwire cleaning (16V)をしています。 *:カットにはcontact cutとradiant cut があるそうです。 GMFCでは後者で切ることを勧めています。完全なradiant cutだとフォームは固定しなくても動かないそうです。 私が切った条件では翼端側はradiant cut になっていますが、翼中央側ではわずかに熱線に引かれスタイロフォームが動いてしまいます。そのため両面テープで固定しました。 I can get good result. This result was got by following conditions, FOAM: styroform(DOW) EK2 XPS extruded polystyrene WIRE:0.16mm stainless wire, length between wire support:230mm Voltage 8v (current 0.6A) cut speed 2.56mm/sec. This speed is Max speed obtained by GMFC software at above condition. Kerf 0.8mm on 2mm/sec and 1.0 on 1mm/sec Foam is set on the center of the table and fixed with adhesive tape. Wire is cleaned every one cut with 16V GMFC recommended to cut with radiant cut and not contact cut. When you cut with complete radiant cut, the foam is not moved by wire with no weight. My cut condition is radiant cut on the wing tip but on the center it was cut with mixed, so I need to fix the foam with adhesive tape. |
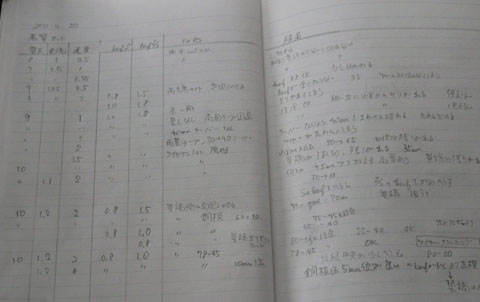 0.16mmワイヤーでのデータ取りの様子です。 0.16mmワイヤーでのデータ取りの様子です。ちゃんと記載しないと同じ事を繰り返してしまう年齢になりました。 ちなみにここに出ているだけで21回カットしています。 This is my experimental notebook with 0.16mm wire and stabilizer cut. 21cut were done for this condition. |
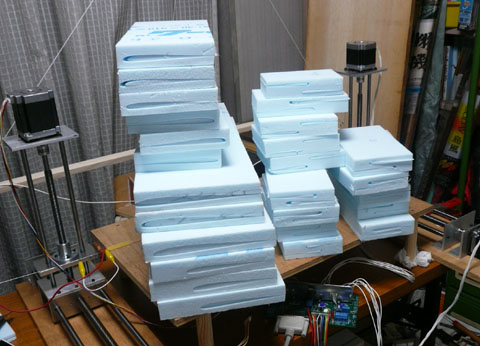 主翼も切り出しました。 主翼も切り出しました。主翼の切り出し条件。 EKⅡ スタイロフォーム 0.3mmステンレス線 支柱間距離600mm 切削速度1.5mm/sec kerf 0.8.0to 1.5 電圧10v(電流1.2A) 翼弦をソフト上で指定寸法より4mmほど大きくセットしています どうにか満足する物が切れました。 小物を切るのにもう少し細い線を使ってテストしてみたいと思います。 Main wing was also cut. The conditions are: Foam Sytrofoam 0.3mm wire length between wire support 600mm cut speed 1.5mm/sec kerf 0.8 on 2mm/sec 1.5mm on 1mm/sec Voltage10V (current1.2A) wing cord is set 4mm larger then intended size I almost satisfied I want to try 0.1mm wire. |