![]()
|
2011-10-5 transfer pipe |
今回はオイルポンプへの給油及び排油ラインです。リアーカバー内は混合気の通り道でここを通過するので出口部分でシールされている必要があります。
又今回は配管を銅パイプでする予定ですのでフレア接続のチェックも必要でした。
This month I made oil pressure and scavenge line.
I have never connected copper tube by flaring, so I checked it.
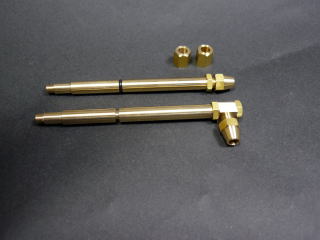 こんな部品を作ります。左側がギアーポンプに接続され右側が銅配管でタンクへ接続されます。 こんな部品を作ります。左側がギアーポンプに接続され右側が銅配管でタンクへ接続されます。All parts that I made. |
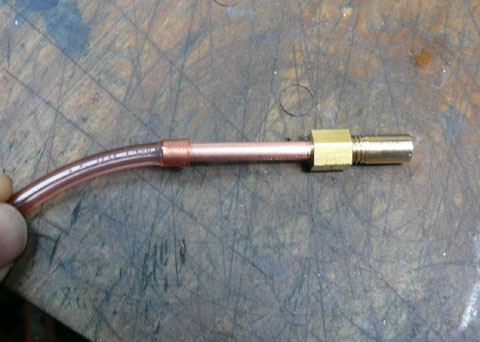 はじめにフレアー接続がうまく行くか実験をしました。何回かの試行錯誤で漏れなく出来ました。 はじめにフレアー接続がうまく行くか実験をしました。何回かの試行錯誤で漏れなく出来ました。First I checked the flaring connector. After several trials, I can connect without leakage |
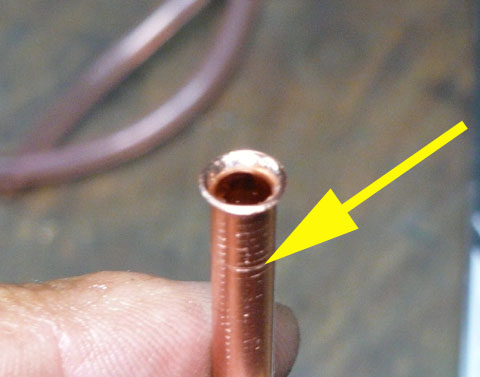 市販のフレアリングツールでフレアーを掛けました。フレアーはうまくできるのですが外周に傷が入ってしまいます。 市販のフレアリングツールでフレアーを掛けました。フレアーはうまくできるのですが外周に傷が入ってしまいます。First I used ordinary flaring tool. It could get good flair but it left scars. |
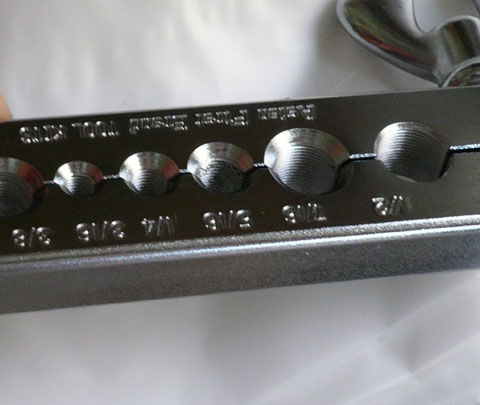 フレアリングツールには滑り止めの溝が切ってあり、これが転写されます。 フレアリングツールには滑り止めの溝が切ってあり、これが転写されます。実世界での配管では小さな傷より確実な配管が要求されるので問題にはならないのでしょうが、半分展示品のエンジンではこの傷は目立ちます。 Flaring tool has small grooves not to slip. |
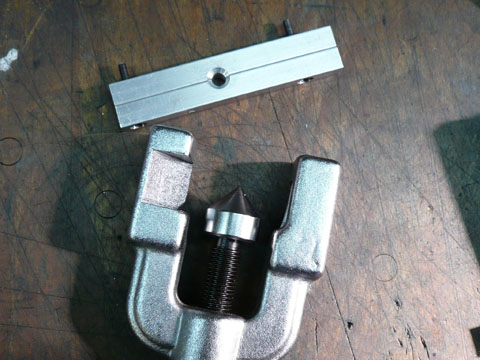 アルミで作り替えました。 アルミで作り替えました。これなら傷は付かないでしょう。 I changed it into aluminum. It works well. |
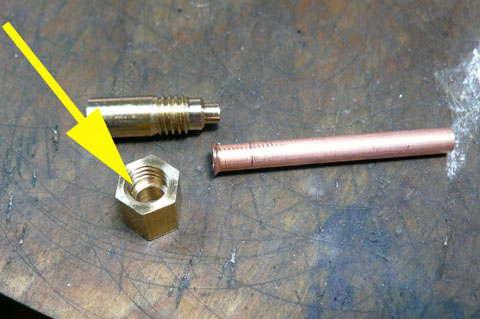 フレアーナットの内側もフレアー角度に合わせる必要があります。 フレアーナットの内側もフレアー角度に合わせる必要があります。In the nut, I had to cut slant surface. |
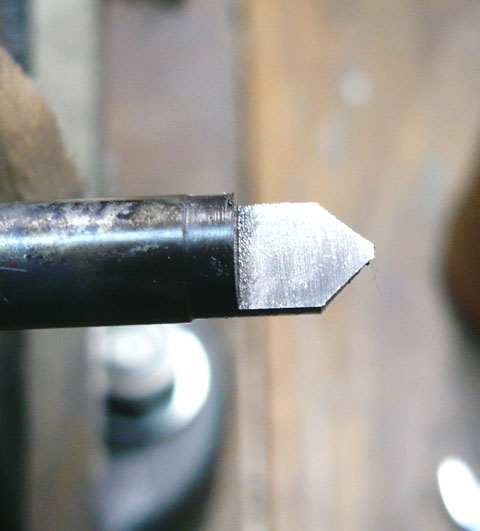 内径切削用のバイトも作りました。 内径切削用のバイトも作りました。後はほとんどが簡単な旋盤作業です。 I made a cutter. |
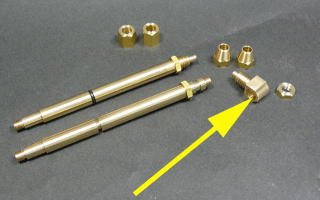 直角継ぎ手のみがやや複雑作業です。(黄色矢印) 直角継ぎ手のみがやや複雑作業です。(黄色矢印)これから作ります。 Almost it needs simple turning. Only the vertical connecter (yellow arrow) need slightly complex works. |
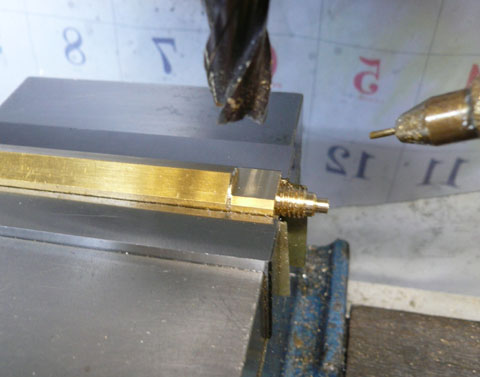 面切削をしています。 面切削をしています。milling the surface. |
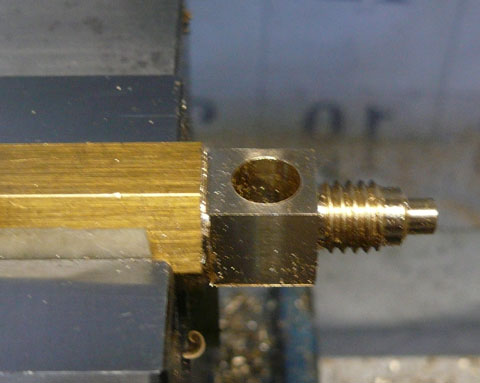 出来た面に貫通穴を開けます。 出来た面に貫通穴を開けます。Drilling. |
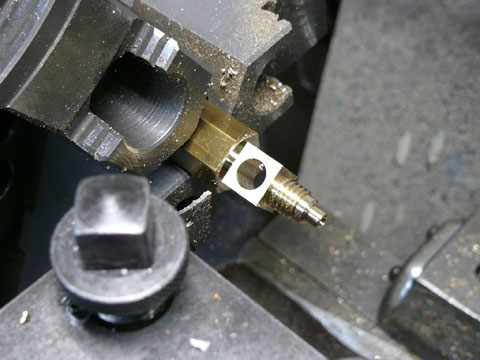 これを切断。 これを切断。Cutting |
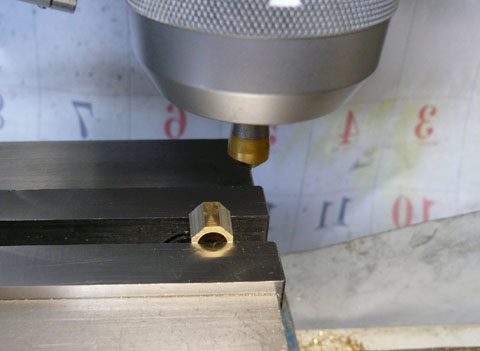 面取りです。 面取りです。Chamfering |
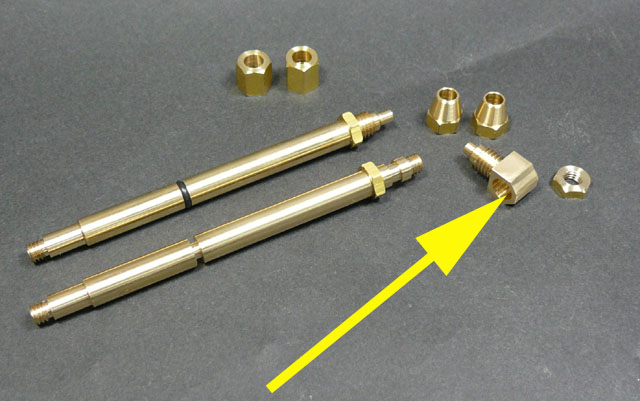 全て完成しました。 全て完成しました。黄色矢印は上で作った直角継ぎ手です。 Completed. Yellow arrow shows the vertical connector |
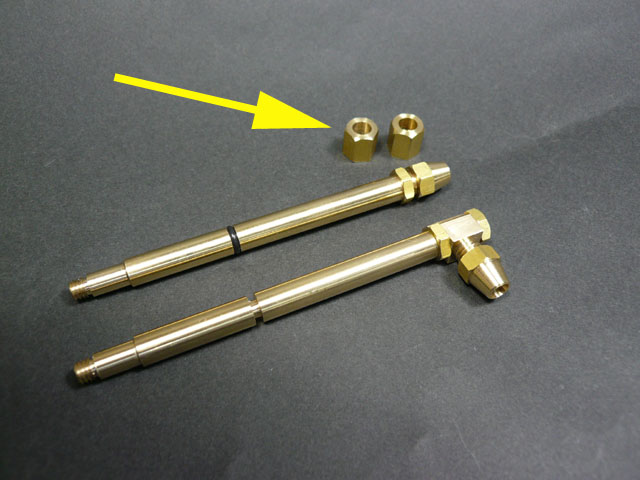 組んでみました。 組んでみました。黄色矢印で示すナットは耐油性ビニールチューブ配管固定用のナットです。 試験運転中はオイルが透見出来る方が安心なのでビニールチューブ配管をします。完成時には銅管に交換します。 Assembled. Yellow arrow shows the nut for vinyl tubing during the test run. |