![]()
|
2012-4-12 assemble-3 |
大分進みましたが、またまた問題発生で、振り出しに戻っています。
Now I could get some progress but I encountered some problems and I had to return to the start point.
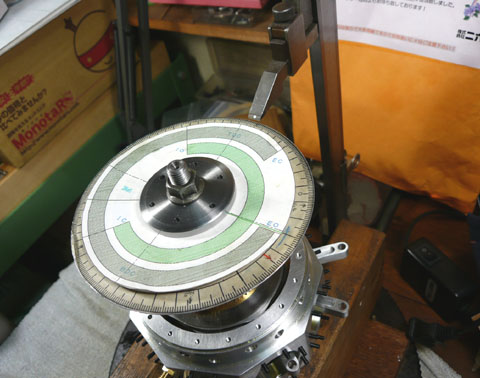 タイミングを見ています。 タイミングを見ています。Check the timing. |
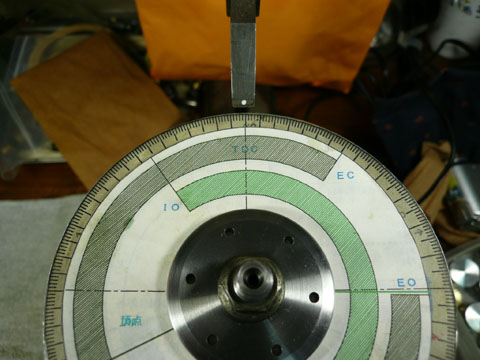 ハイトゲージの古いのを使いました。 ハイトゲージの古いのを使いました。角度ゲージはKinnerの時の物を流用しています。(タイミングは9radial用の物を作りました) この時点ではおおざっぱにチェックしてあればOKです。 I used height gage. |
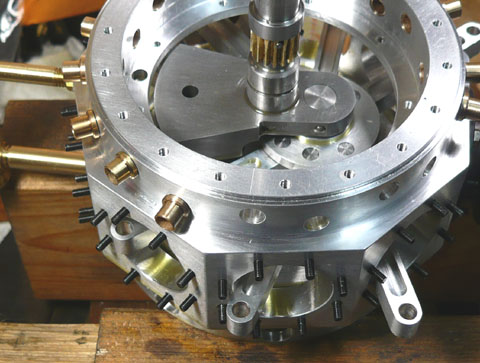 タペットガイドを接着しています。 タペットガイドを接着しています。油が完全除去出来ていなくてもOKなロックタイト603を使っています。 With Loctite 603 I glued tappet guide. |
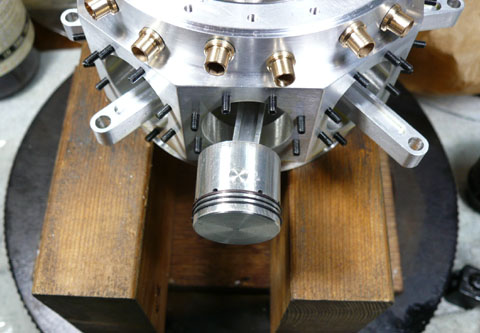 ピストンリングを装着しています。 ピストンリングを装着しています。ここで問題発生。 リング溝にリングははまるのですが、きちきちです。溝内を回転もしないし、ぎゅっと押さえると縮んでしまい広がってきません。 Installing the piston rings. It is possible to install but can not move in the groove. It is slightly tight. |
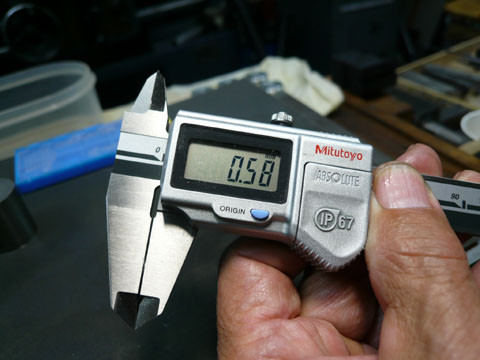 はずして計測しました。厚さは0.58mm、リング溝は0.6mmで切ってあります。 はずして計測しました。厚さは0.58mm、リング溝は0.6mmで切ってあります。はめ合いならゆるめの中間バメでしょうか。入りますがスムースには動きません。 The ring width is 0.58mm and groove was cut with 0.6mm parting tool. |
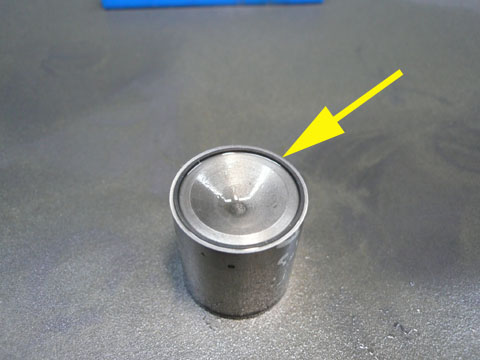 リング磨きにセットしました。 リング磨きにセットしました。Set on the ring polisher. |
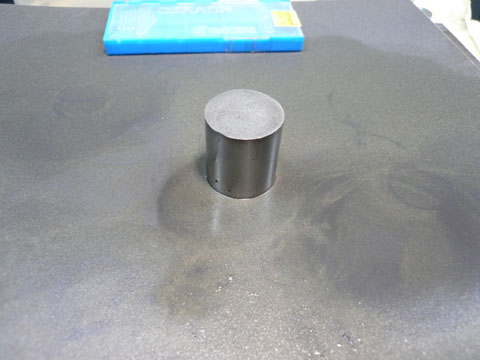 ひっくり返して定盤上で#320耐水ペーパーに灯油を使い削ります。 ひっくり返して定盤上で#320耐水ペーパーに灯油を使い削ります。Put the #320 wet and dry sandpaper on the surface plate with kerosene. |
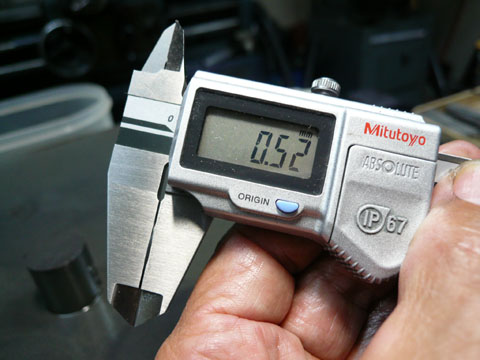 0.52まで削りました。非常にスムースに動くようになりました。 0.52まで削りました。非常にスムースに動くようになりました。0.52mm It moves very smooth. |
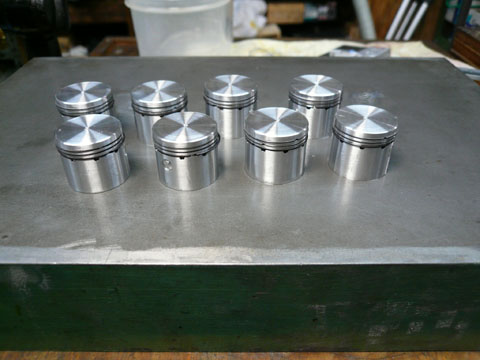 全てのリングの調整が終わりました。 全てのリングの調整が終わりました。All the rings were adjusted. |
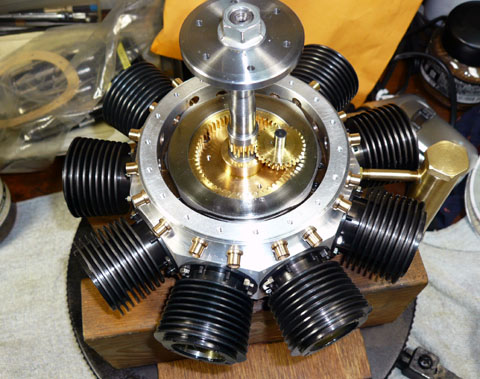 プラネタリーギアーを組み込みました。 プラネタリーギアーを組み込みました。ピストンリングも全部組み込んであります。 Installing the planetary gear. The piston rings were already installed. |
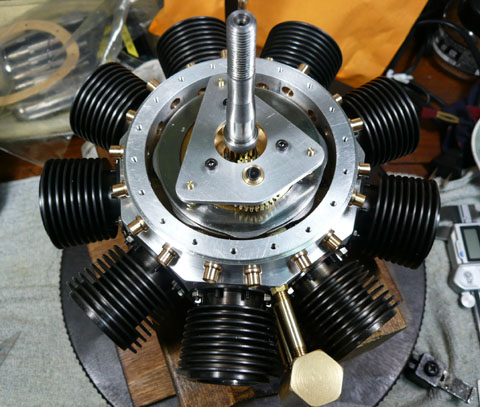 ジャックシャフトを組み込みました。この時点になるともうタイミング調整は出来ません。 ジャックシャフトを組み込みました。この時点になるともうタイミング調整は出来ません。この前にタイミングは再度チェックしてあります。 Jack shaft was installed. |
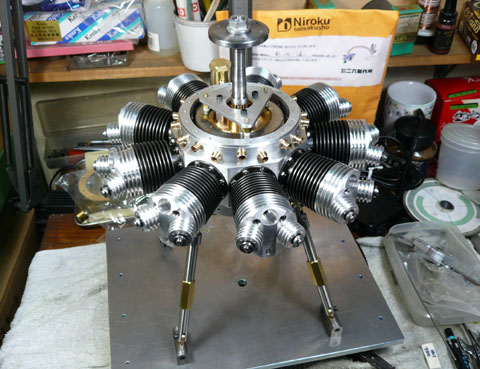 エンジンマウントに載せました。 エンジンマウントに載せました。On the engine mount. |
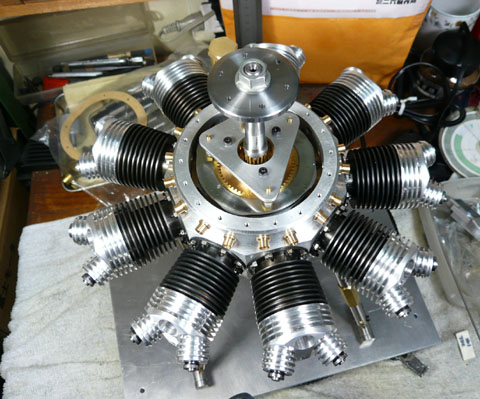 別の方向から。 別の方向から。エンジンマウント固定部はM3ビス4本です。 以前のKinnerも同じで問題はなかったのですが、今回はちょっと不安です。 固定部を作り直そうと思います。 Another view. The connecting point of engine and mount were felt slightly weak. I will make another mounting ring. |
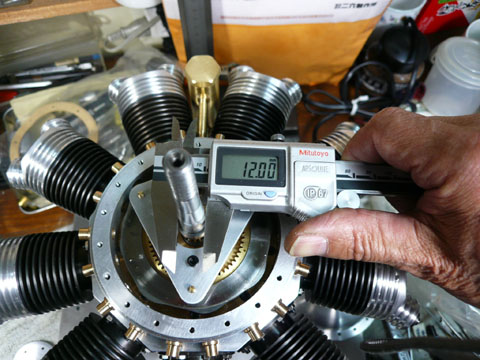 とりあえずフロントカバーをつけてモーターでテスト回転をしようと思いましたが、また問題発生。クランクシャフトにベアリングが入りません。計測すると12.00mm。 とりあえずフロントカバーをつけてモーターでテスト回転をしようと思いましたが、また問題発生。クランクシャフトにベアリングが入りません。計測すると12.00mm。これでは内径12mmのベアリングは入りません。しまりバメにすべく11.99で作ったはずだったのですが・・・・ この部分はクランクシャフトを分解しないと研削出来ません。 と言うことで全部ばらすことになりました。 (と言っても2時間もあればバラバラになります) なかなか先に進めないですねー。 Now I could start to motor run with front bearing, but the bearing could not be installed. The diameter of the shaft is 12.00 and it was too big for the 12.00 bearing. I have to file out 0.01mm. I disassemble all and returned to start point. |