![]()
|
2012-6-12First run |
ようやっとテストランにこぎ着けられました。良い圧縮、良い混合気、良い火花、そして正確なバルブタイミングと点火タイミング。全てOKなので絶対に回ると思ってはいるのですが、回るまでは不安で不安で・・・・なんとか回ってほっとしています。
Finally I could reach the test run. I am sure that this engine has good compression, good fuel mixture, and good ignition and proper valve timing and ignition timing. I thought that this engine must run but I was very very uneasy until it run.
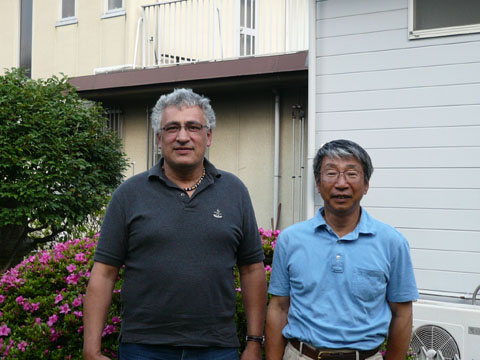 6月初旬J.Quevedoさんが訪ねてきてくれました。彼はサンフランシスコ在住で仕事で日本に来ました。Sealion
とかSilver bullet,そして今回私が作っている9気筒も既に作っています。エンジン談義に花が咲きました。しどろもどろの英語でも趣味の話ならなんとか通じる物です。 6月初旬J.Quevedoさんが訪ねてきてくれました。彼はサンフランシスコ在住で仕事で日本に来ました。Sealion
とかSilver bullet,そして今回私が作っている9気筒も既に作っています。エンジン談義に花が咲きました。しどろもどろの英語でも趣味の話ならなんとか通じる物です。At the beginning of June, Mr. J. Quevedo visited my shop. He has already made Hodgeson 9 radial. To talk about building model engines, I could have very pleasant time with him. |
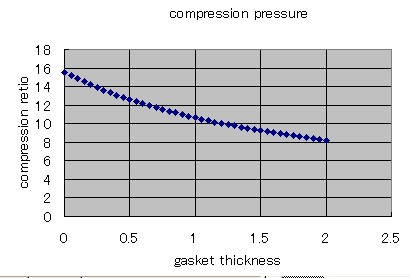 今回の私のエンジンは圧縮比が高すぎてしまいました。圧縮テスターで計ると1.6MPaはいくら何でも高すぎです。 今回の私のエンジンは圧縮比が高すぎてしまいました。圧縮テスターで計ると1.6MPaはいくら何でも高すぎです。そこで燃焼室容積を実測してみました。簡単かと思ったのですが、バルブがシリンダー内に少し突出しているためシリンダを付けた状態でないとオイルを使っての計測は出来ません。全体としては28cc前後、そして燃焼室は1ccくらいしかありません。0.2cc(10〜20滴)違うと圧縮比は4くらい変化してしまいます。 意外と難しいことが判明しました。 一応1ccと仮定して、ガスケット厚さと圧縮比の関係をグラフにしてみました。1.5mm位入ると9くらいになるようです。ヘッドに0.5mm既に入っていますのでシリンダーベースに1mmのスペーサーを入れることにしました。 My engine has too high compression pressure which reached up to 230psi. I must reduce it. I calculated the compression ratio and gasket thickness. I decided to make 1mm spacer for the base of cylinder and use 0.5mm Tefron head gasket. |
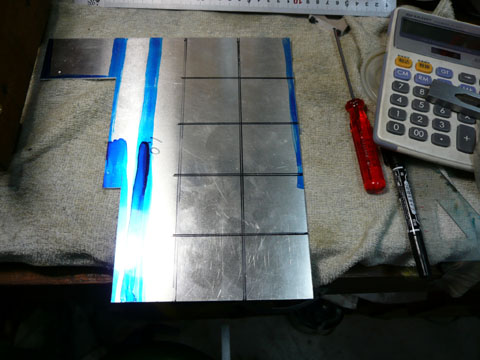 今回はQuevedoさんが教えてくれた方法で作ります。まず1t5052アルミ板を50mm角位に切ります。 今回はQuevedoさんが教えてくれた方法で作ります。まず1t5052アルミ板を50mm角位に切ります。Mr.Quevedo told me how he made the gasket in his engine. According to his method, I started to make them. First 1t 50mm X50mm aluminum plates were cut out. |
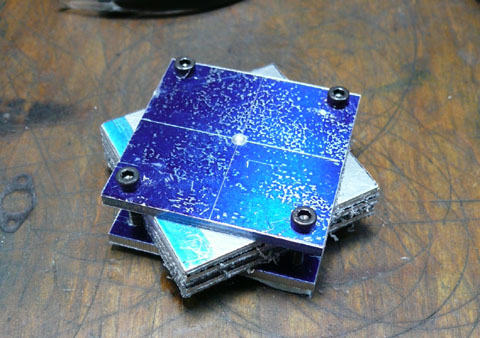 必要枚数切った物を3tアルミ板で挟み込みます。 必要枚数切った物を3tアルミ板で挟み込みます。All of the plates are sandwiched between two 3t plate. |
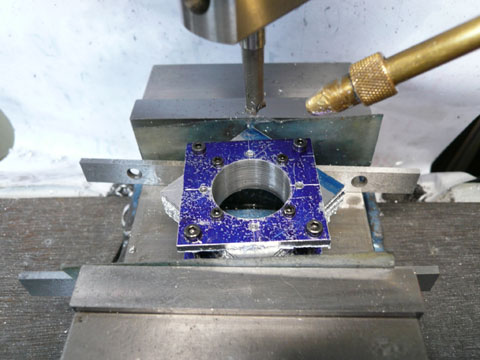 スタッドボルト用穴をあけここもビスで固定した後、中心をボーリングバーでシリンダー外径までボーリング。 スタッドボルト用穴をあけここもビスで固定した後、中心をボーリングバーでシリンダー外径までボーリング。drilling and bored. |
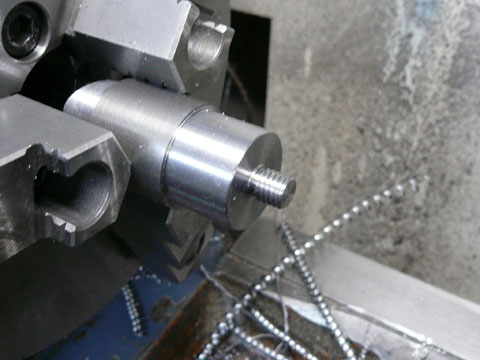 上の物がぴったりはいるヤトイを作ります。 上の物がぴったりはいるヤトイを作ります。I made the fixture on the lathe. |
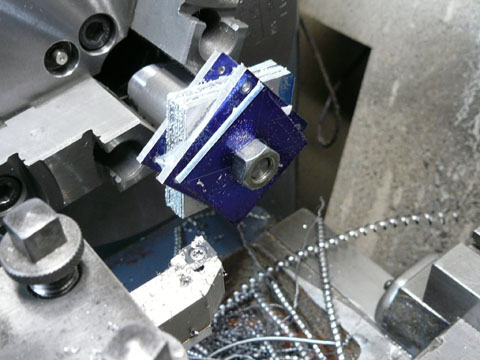 このヤトイに固定して・・・ このヤトイに固定して・・・Fixed |
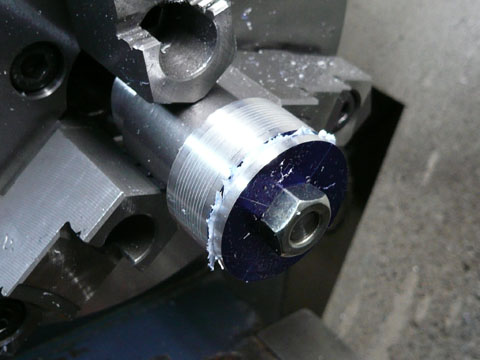 外周旋削。 外周旋削。Turned. |
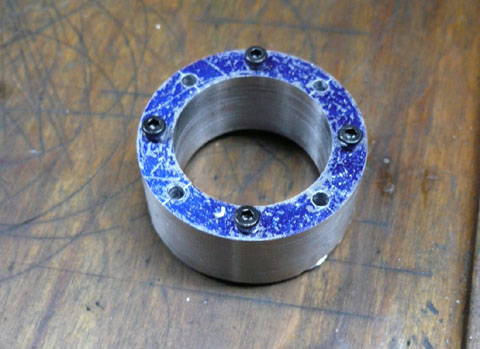 ヤトイからはずしました。 ヤトイからはずしました。Moved from the fixture. |
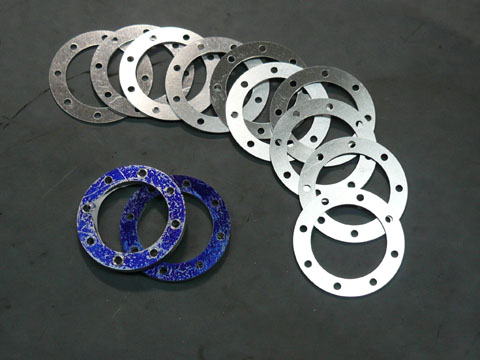 非常にきれいに出来ました。 非常にきれいに出来ました。丸棒に必要な穴をあけて突っ切って作る物よりちょっと手間がかかりますが厚さが均一で非常にきれいに出来ました。 I could get very beautiful gaskets. |
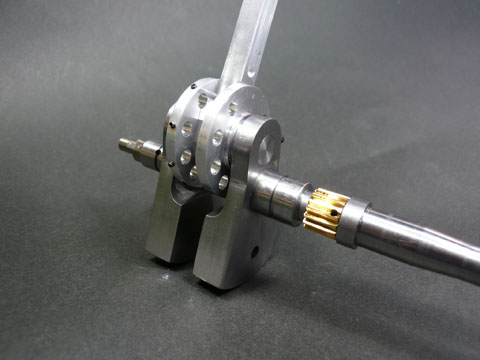 壊れたクランクシャフトも作り直しました。 壊れたクランクシャフトも作り直しました。今回は細心の注意を払って作ったので一発で正確な物が出来ました。 I made new crankshaft. |
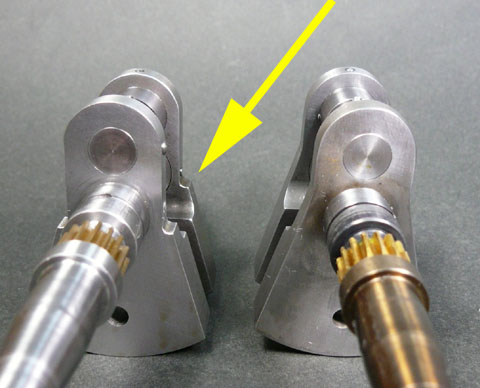 左は前回作った物。右は今回の物。 左は前回作った物。右は今回の物。黄色矢印部の切りかきを無くしています。 Left side is old one and right side is new one. |
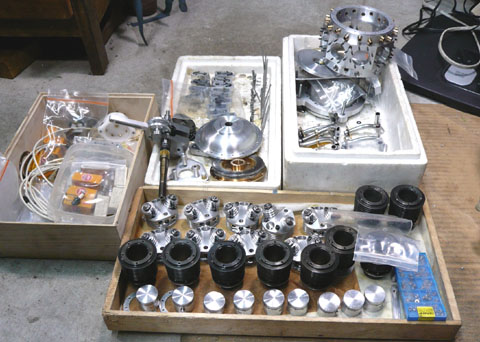 さあ、これから再組付けです。微調整は既に済んでいるので割と簡単です。と言っても7〜8時間はかかります。 さあ、これから再組付けです。微調整は既に済んでいるので割と簡単です。と言っても7〜8時間はかかります。Now I star to assemble. I finished fine adjustment in previous step, it will not take so long. |
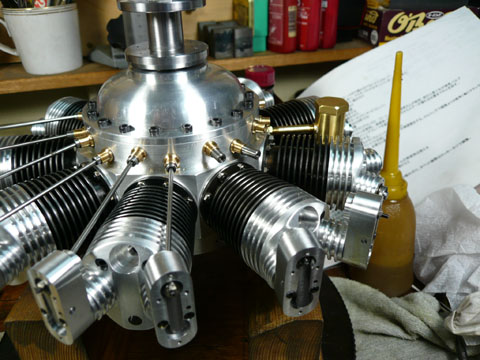 組立中です。 組立中です。Assembling. |
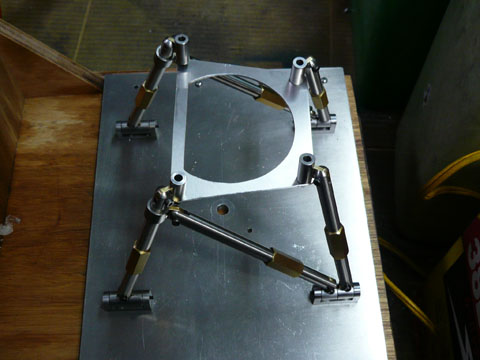 エンジンマウントに載せるときに支柱は自由に動いてしまいます。5kgちょっとのエンジンを片手に持ち、残る片手で支持部にはめ込むのは非常に難しいです。やっているうちに手がぷるぷる震えてきます。落とすわけには行かないし。 エンジンマウントに載せるときに支柱は自由に動いてしまいます。5kgちょっとのエンジンを片手に持ち、残る片手で支持部にはめ込むのは非常に難しいです。やっているうちに手がぷるぷる震えてきます。落とすわけには行かないし。少しでもこの時間を短縮できるようマウントを正規位置に止められるような固定板を作りました。スタッドボルトが各穴に入ると押されてこのプレートは脱落します。 When I install the engine on the engine mount, the engine mount can move freely. My engine is over 5kg and I had to grab it by one hand and adjust the position by another hand. It is not so easy and my hand will soon worn out but I can not drop it. I made a plate that fix the engine mount in proper position. when the engine is installed on the mount, this plate will slipped and fall down. |
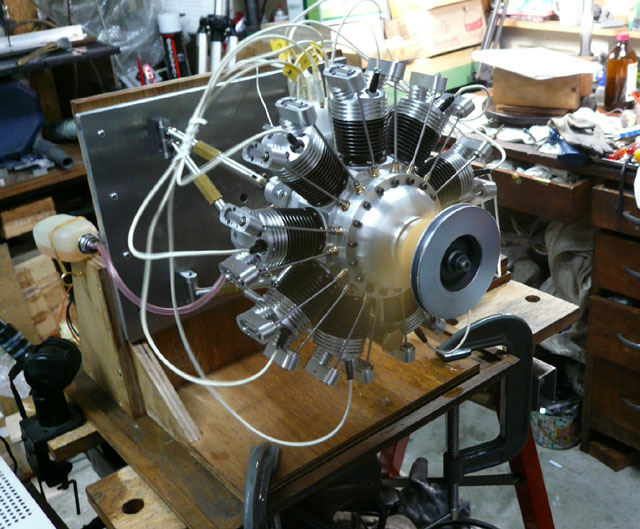 やっとここまで来ました。初めはいくらやってもうんともすんとも言いません。回る条件は全て整っているのに・・・・ やっとここまで来ました。初めはいくらやってもうんともすんとも言いません。回る条件は全て整っているのに・・・・試しにガソリンを変えてみました。3年半前に5気筒に使った残りをそのまま使っていました。新しいのをみたら色が全然違います。 入れ替えてone crank、始動しました。 ガソリンをケチってはいけません。 数分回ったところでまた回らなくなりました。バルブタイミングがずれているようです。これから原因究明です。 なかなかすんなり回ってくれませんね。 Finally I could start the engine. but a few minutes running time, it became to reject to run. The valve timing became wrong. I must find the reason. |