![]()
|
2012-12-3 fine adjustment |
大分間があいてしまいました。
エンジンは前回一応回るところまで行ったので、かねてから懸案の新しいグライダーにメカをつんだりしていました。
その後、吸気系統のエアー洩れ対策、フロートチャンバーの流量不足などの細かい修正をしていました。
まずはグライダーから。
Long time no see.
Last time, I could run the 9 radial.
So I equipped the receiver and servos on the discus launch gliders(DLG).
Then I did fine adjustment on 9 radial.
I became very smooth.
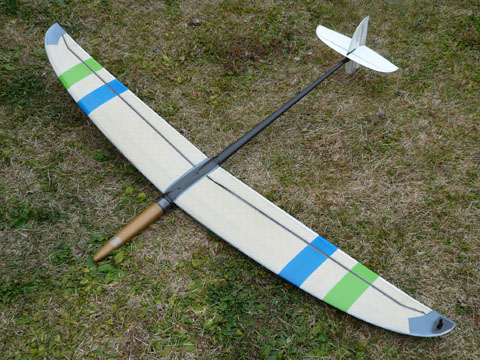 Steigeisenです。 Steigeisenです。昨年の春に買ってあったのですが放りっぱなしになっていました。 9月末に完成して飛ばせました。 よく走り、飛ばしていて気持ちのいい機体です。 Steigeisen I got it one and half year ago. At the end of September I could roll out it. It has good penetration and it is very fine to control it. |
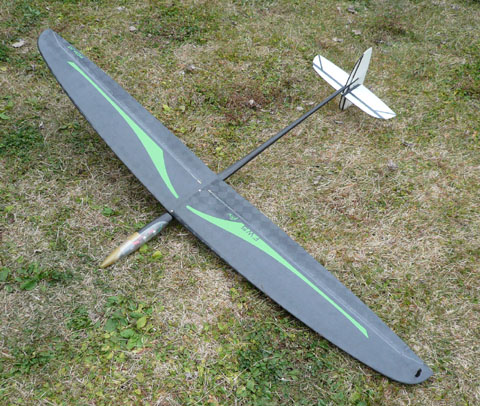 FW5flowです。 FW5flowです。これも今年の初夏には来ていたのですが作る暇が無くて放置されてました。 11月になり完成しました。 BlasterⅢに似たフィーリングです。 FW5 flow I got it in this early summer but I was busy to make engine, so it stayed in the box for 4 months. It rolled out at the middle of November. The flight feeling is somewhat similar to Blaster 3, I think. |
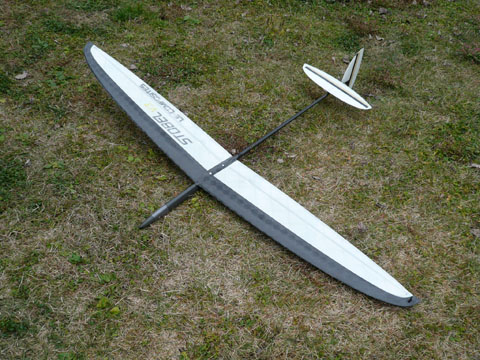 Stobel V3です。 Stobel V3です。これは10月末に来ました。 FW5 flowの完成後1週間目で完成しました。良く上がりよく走ります。 つり気味にするとこけると言う話を聞きますが、まだ経験していません。 とても良く飛びます。お気に入りです。 Stobel V3 I got it at the end of October. It rolled out one week later to the roll out of FW5 flow. It can get high launched altitude and have good penetration. Someone said that it sometimes stalled suddenly when it runs on full camber, but I never met it so far. It is my favorite one. |
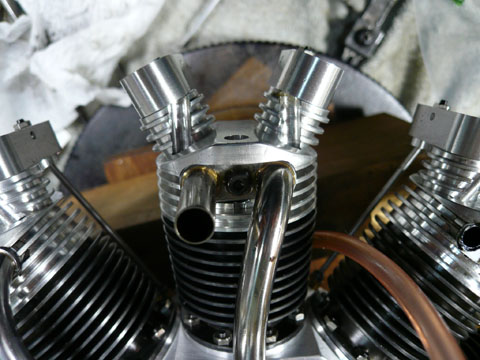 ここからエンジンに戻ります。 ここからエンジンに戻ります。吸気系統のエアー漏れですが、シリンダーヘッド、給排気管接続部が一番考えられます。 Now I return to the engine. I checked the air leakage on the intake system. I thought that main cause existed on the connection of intake and exhaust pipe system and cylinder head. |
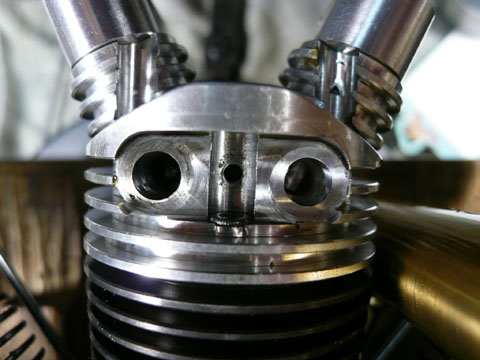 シリンダーヘッド側給排気管接続部です。 シリンダーヘッド側給排気管接続部です。ともに6mm径です。 シリンダーヘッドを原図から変更したため、真ん中にヘッド固定ネジを通すための溝が掘れてしまっています。これもエアー漏れの原因になりました。 The intake and exhaust port on the cylinder head. At the center, it has a groove for the screw to fix the cylinder head. In original there is no groove but I arranged the cylinder head design and I had to mill it. It caused trouble again! |
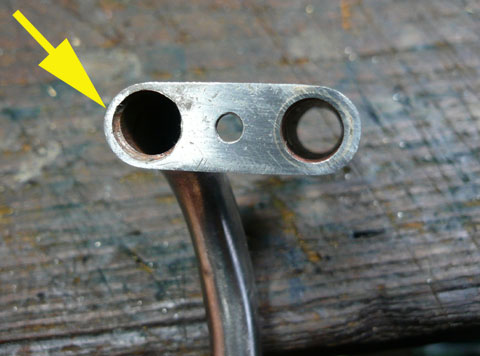 給排気管側フランジです。黄色矢印部分は1mmしかありません。接触面積が少なすぎる様です。 給排気管側フランジです。黄色矢印部分は1mmしかありません。接触面積が少なすぎる様です。The flange has only 1mm width. The contact area is somewhat too small. |
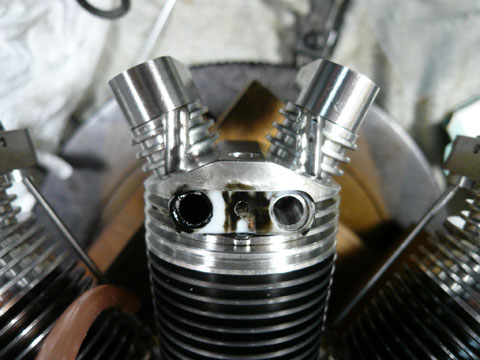 給排気管をはずしガスケットだけにした写真です。吸気管側(右側)はガスケットがひしゃげてしまっています。 給排気管をはずしガスケットだけにした写真です。吸気管側(右側)はガスケットがひしゃげてしまっています。When I checked the gasket, the gasket was distorted. |
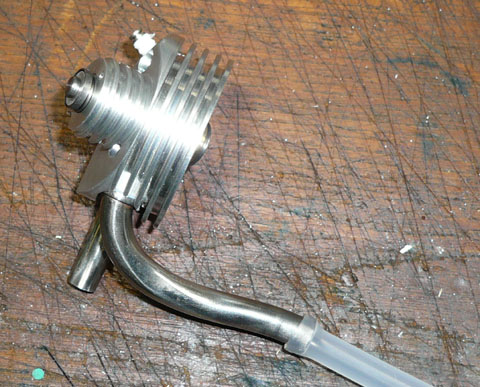 シリンダーヘッドだけにして吸気管にシリコンパイプをつなぎ灯油の中につけて息を吹き込み漏れをチェックしました。 シリンダーヘッドだけにして吸気管にシリコンパイプをつなぎ灯油の中につけて息を吹き込み漏れをチェックしました。洩れ漏れでした。 I checked the leakage on the cylinder head alone. When I blow the silicone tube, there was great leakage. |
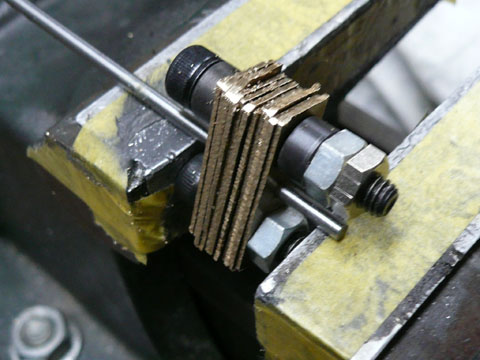 給排気管側に真鍮フランジを追加することにしました。手作業で製作しています。 給排気管側に真鍮フランジを追加することにしました。手作業で製作しています。両端に焼きを入れた「ころ」を入れてヤスリで削る作業です。 I started to make the flanges by brass with hand file. |
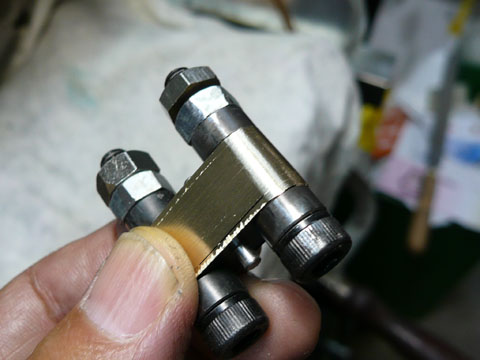 削り終わりました。 削り終わりました。Hand filing was completed. |
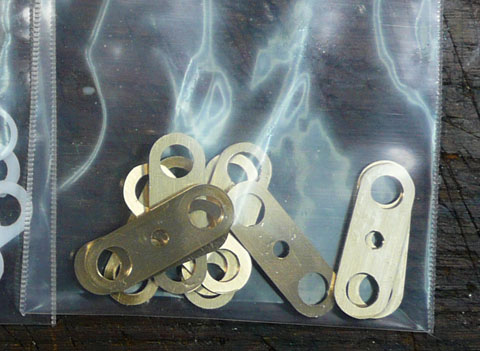 できあがったフランジです。 できあがったフランジです。Flanges. |
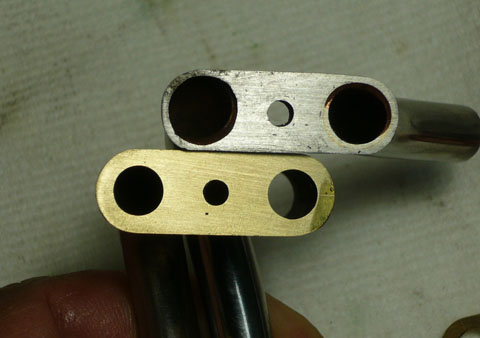 上が元の物、下が真鍮フランジを接着した物です。排気で加熱されるため多分接着剤は用をなさなくなると思いますが、エアー洩れに対しては十分役に立つでしょう。 上が元の物、下が真鍮フランジを接着した物です。排気で加熱されるため多分接着剤は用をなさなくなると思いますが、エアー洩れに対しては十分役に立つでしょう。Upper side is without flange and lower is with. It has wider contact surface. |
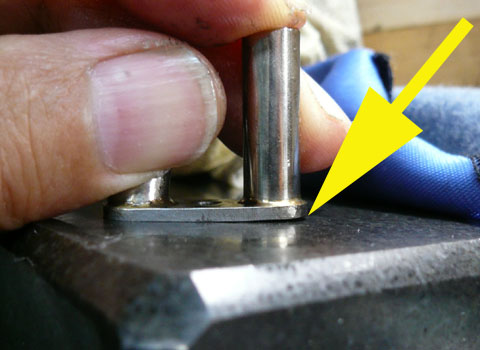 フランジにも変形が来ていました。 フランジにも変形が来ていました。これはシリンダーヘッド側の中央に溝があり、エアー漏れを防ぐため中央のネジを閉めすぎたために起きてしまったようです。 The flange was distorted because I tightened the screw on the center groove too much to avoid the leakage . In original it never happen. |
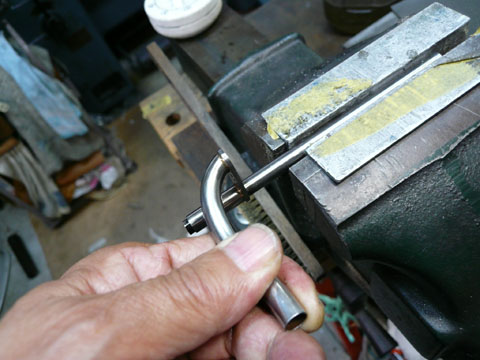 排気管内にぴったりの棒を通し、吸気管側を把持してこの曲がりを修正しています。 排気管内にぴったりの棒を通し、吸気管側を把持してこの曲がりを修正しています。I fixed them. |
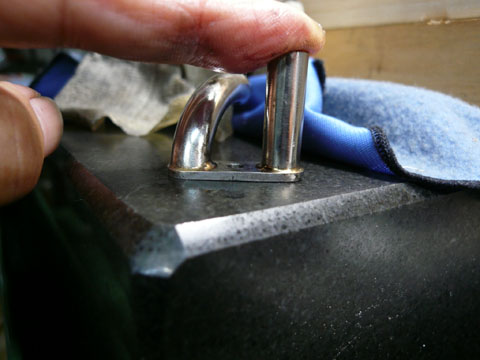 修正が終わりました。 修正が終わりました。Fixed. |
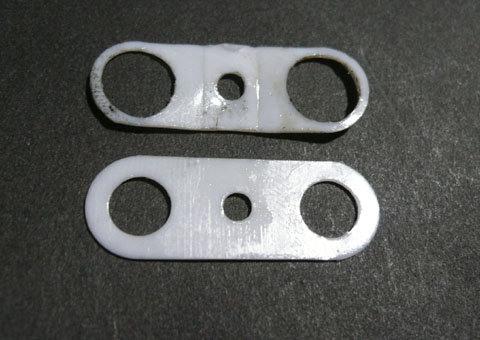 ガスケットも作り直しました。上の古い方は変形しているのが良くわかります。 ガスケットも作り直しました。上の古い方は変形しているのが良くわかります。I remade gasket too. Upper side is used. |
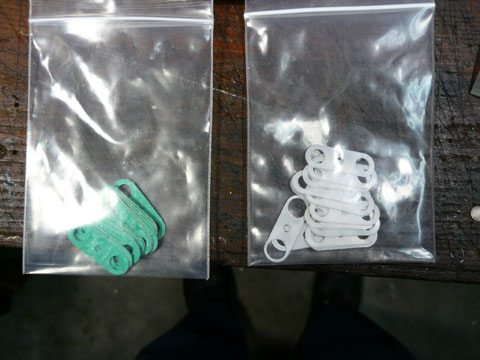 右がテフロンガスケット。左はガスケット専用材で作った物です。最終的に左の物を使いました。 右がテフロンガスケット。左はガスケット専用材で作った物です。最終的に左の物を使いました。I made another gasket with the material for gasket (left side) I used them. |
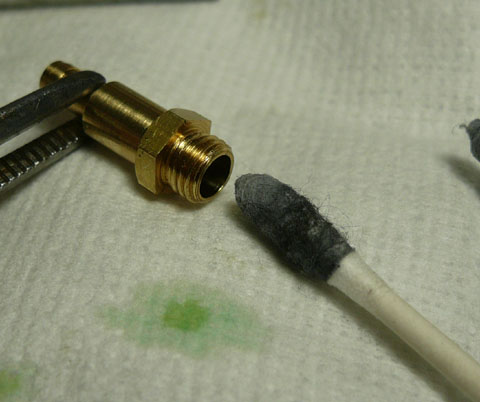 フロートチャンバーもエンジンのガソリン消費量にチャンバー流入量が間に合いません。 フロートチャンバーもエンジンのガソリン消費量にチャンバー流入量が間に合いません。バルブとバルブケージとの間の摩擦が多くてうまくバルブが開いてくれないようです。 バルブケージを旋盤でくわえ、内側を綿棒、ピカールで研磨しました。 非常にスムースに動くようになりました。 下を向けるとするっとバルブが滑り落ちてくれます。 流入量も確保できるようになりました。 On float chamber, it has not enough flow rate for running. The friction between valve and cage might be too much, I suspected. On the lathe with metal polisher and cotton bud, I polished it. It became very smooth and it has enough flow rate. |
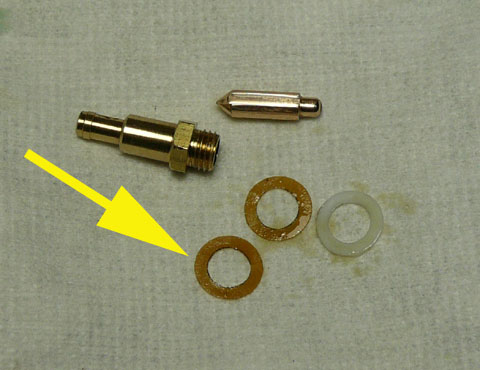 液面高さ調整用のガスケットも追加しました。 液面高さ調整用のガスケットも追加しました。テフロンガスケット0.5mm 紙ガスケットが0.06mm、2枚0.12mmで液面がちょうど良くなりました。 テストの結果吸気洩れもなく、液面も安定して、回転も安定、スロットルにちゃんと反応するようになりました。 I made another gasket to adjust the liquid level. I added two pieces of gasket and the chamber had appropriate fluid level. With these fine adjustment, the engine runs very smooth and respond to the throttle. |
| 次は燃料タンクと、ハイテンションケーブルの作成でほぼ完成でしょう。 Next I made fuel tank and high tension cable, and the 9 radial will be completed. |